Iron golem farming uses village mechanics to produce iron and poppies. Usually, an iron golem farm is a player-constructed village in which golems are spawned and then either killed immediately or moved to a holding cell outside the village boundary for later killing. Iron golem farming is preferable to other methods of iron farming from zombies and skeletons due to a much higher chance of iron dropping and therefore much higher quantities of iron.
Java Edition
In Java Edition, a villager can attempt to spawn an iron golem while not having a golem alive within the box of radius 16 blocks around the villager and more than 30 seconds has passed.
An iron golem needs an available volume in which to spawn. There must be at least 3 transparent blocks above the spawning surface, and that surface must be solid and flat (but not a bottom slab).
Zombies and pillagers nearby increase the spawn rate of iron golems. If a zombie/pillager is seen by villagers, they panic and increase the rate of spawn attempts. Zombies are easier to use as scaring mobs than pillagers, as you'd need a disarmed pillager (one without crossbow) for the farm to work, although pillagers have a much larger range to scare villagers than zombies, also they don't burn in sunlight unlike zombies and won't hurt you if their crossbow breaks.
Nether portals can also be used to increase rates, since the iron golem cap instantly resets when it's teleported to the Nether. Aside portals, one can also construct a chute where the golems fall into after spawning, which clears the mob cap. This is more reliable than nether portals.
Bedrock Edition
Spawning requirements
Villages attempt to spawn iron golems around the village center when the following requirements are met:
- The village contains at least 20 beds.
- The village contains at least 10 villagers.
- At least 75% of the villagers have worked at their workstations the previous day.
- All of the villagers must be linked to a bed.
- The village must be within a player's simulation distance volume.
- There must be space to spawn an iron golem within a 16×6×16 volume around the village center.
- There is less than one naturally generated or spawned (i.e. not player-created) iron golem for every 10 villagers in the village. The ratio of iron golems to villagers is rounded down to the nearest whole number, so to spawn a second iron golem while the first is still alive requires 20 villagers, to spawn a third golem requires 30 villagers, and so on.
Simulation Distance
To clarify, iron golems can spawn as long as the player is within simulation range of the village's boundaries; being near the village center is not necessary. Simulation distance remains consistent both horizontally and vertically. The formula for calculating simulation range is as follows:

Frequency of Spawns
There is a 1/700 chance of an iron golem spawn attempt during each game tick when these conditions are met. This averages to one spawn attempt every 35 seconds. However, the spawn attempt only succeeds in spawning a golem if the game finds a spawnable spot.
Spawnable Space
To search for a spawnable spot during a spawn attempt, the game checks 10 random X, Y, Z coordinates in the 16×6×16 volume around the village center. The spawn attempt succeeds if a chosen coordinate meets the following conditions:
- There is a solid block underneath.
- The 2×4×2 volume extending -1 X (west), +3 Y (upward), and -1 Z (north) from the chosen coordinate does not contain any solid or full blocks.
If these conditions are met but there is a partial or transparent block at the chosen coordinate, then the iron golem may appear to spawn on top of the partial or transparent block. This gives the appearance that iron golems can spawn on top of normally non-spawnable blocks like bottom slabs, carpets, and glass.
Iron Harvesting Rate
Note that based on the search algorithm, at best only 98.3% of spawn attempts will succeed. Therefore, it is impossible to build a farm in which iron golems spawns occur on average every 35 seconds. Since iron golems drop 4 ingots on average, the highest possible average ingots per hour is 4 * 3600 / 35 * .983 = 404. Actual rates of farms typically fall in range of 240-400. (See Maximizing Rates below.)
Village center
A village center is the northwest bottom corner of a point-of-interest (POI) block, which can be a bed pillow, bell, or workstation. The village center always begins as the pillow of the first bed linked to a villager. It can shift when a villager links to a new POI or unlinks from a POI after three failed attempts to pathfind to it, or after removal of either the villager or the POI from the village. The game attempts to make the village center correspond roughly to the geometric center of all linked POI in a village, but there is randomness involved and shifts can seem erratic.
Controlling the village center is often the most difficult part of designing, building, and maintaining an iron golem farm. The center is important because it determines where structures must be built to spawn, contain, and transport the iron golems. Iron golems can spawn in a 16×12×16 volume around the village center point; that is, a spawning platform should extend 8 blocks in all horizontal directions from northwest bottom corner of the POI block, and can be in a vertical range from 5 blocks above the top to 6 blocks below the bottom of the POI block. For a chosen horizontal spawn location, the golem spawns on the highest valid surface within the spawn volume at that location.
To protect against center shifting and also capture all available iron golem spawn attempts, farm designs commonly cluster beds at the center of the farm and have the spawn platform(s) extend 8 blocks out from the furthest bed pillows in each direction.
It is best to avoid using bells in iron golem farms because villagers try to pathfind to bells at gathering time, fail, and then unlink from the bell, causing the village center to shift. A bell does not define a village center. The game also does not indicate which villager's bed defines the village center.
Farm designs that do not allow villagers to access their beds may experience center-shifting and possibly lower spawning rates unless they prevent villagers from unlinking from the beds at night. To prevent a villager from unlinking, you can either place water on its feet, or prevent it from attempting to pathfind by surrounding it with blocks.
Maximizing rates
The rate of iron ingot production in an iron golem farm is determined by three factors: the number of spawnable blocks, the number of villagers, and the average lifetime of each iron golem. The most efficient farms achieve rates around 400 ingots/hour.
The maximum number of spawnable blocks in a farm is 512. This is achieved by two minimum 16×16 solid block platforms centered horizontally at the village center, with one platform four blocks under the village center, and the other platform a block above the village center. In farms designed for maximum rates, the beds are usually arranged tightly around the horizontal center on the Y-level just below the upper spawn platform. This allows iron golems to be transported underneath the beds and ensures that the Y-level of the center does not shift. With 512 spawnable blocks, 98.3% of spawn attempts can succeed.
Increasing the number of villagers allows additional spawn attempts to succeed during the time it takes to transport and kill existing iron golems. In a farm using water to transport iron golems and lava blades to kill them, increasing the population from 10 to 20 increases rates by about 33%, and increasing the population from 20 to 30 increases rates by about 5%.
The average lifetime of iron golems depends on transport time and kill time. Most farms use water to transport and lava blades (lava suspended on collisionless blocks such as signs or open fence gates) to kill. It is also possible to use rail systems, although rail systems are likely slower than water. Other kill methods such as magma blocks, skeleton arrows, and trident killers are slower than lava. However, trident killers can kill faster than lava if the tridents are enchanted with Impaling V and the iron golems are kept in contact with water. Note that if you use a trident killer, you do not gain experience, and you cannot use Looting.
Survival mode build: Iron golem village
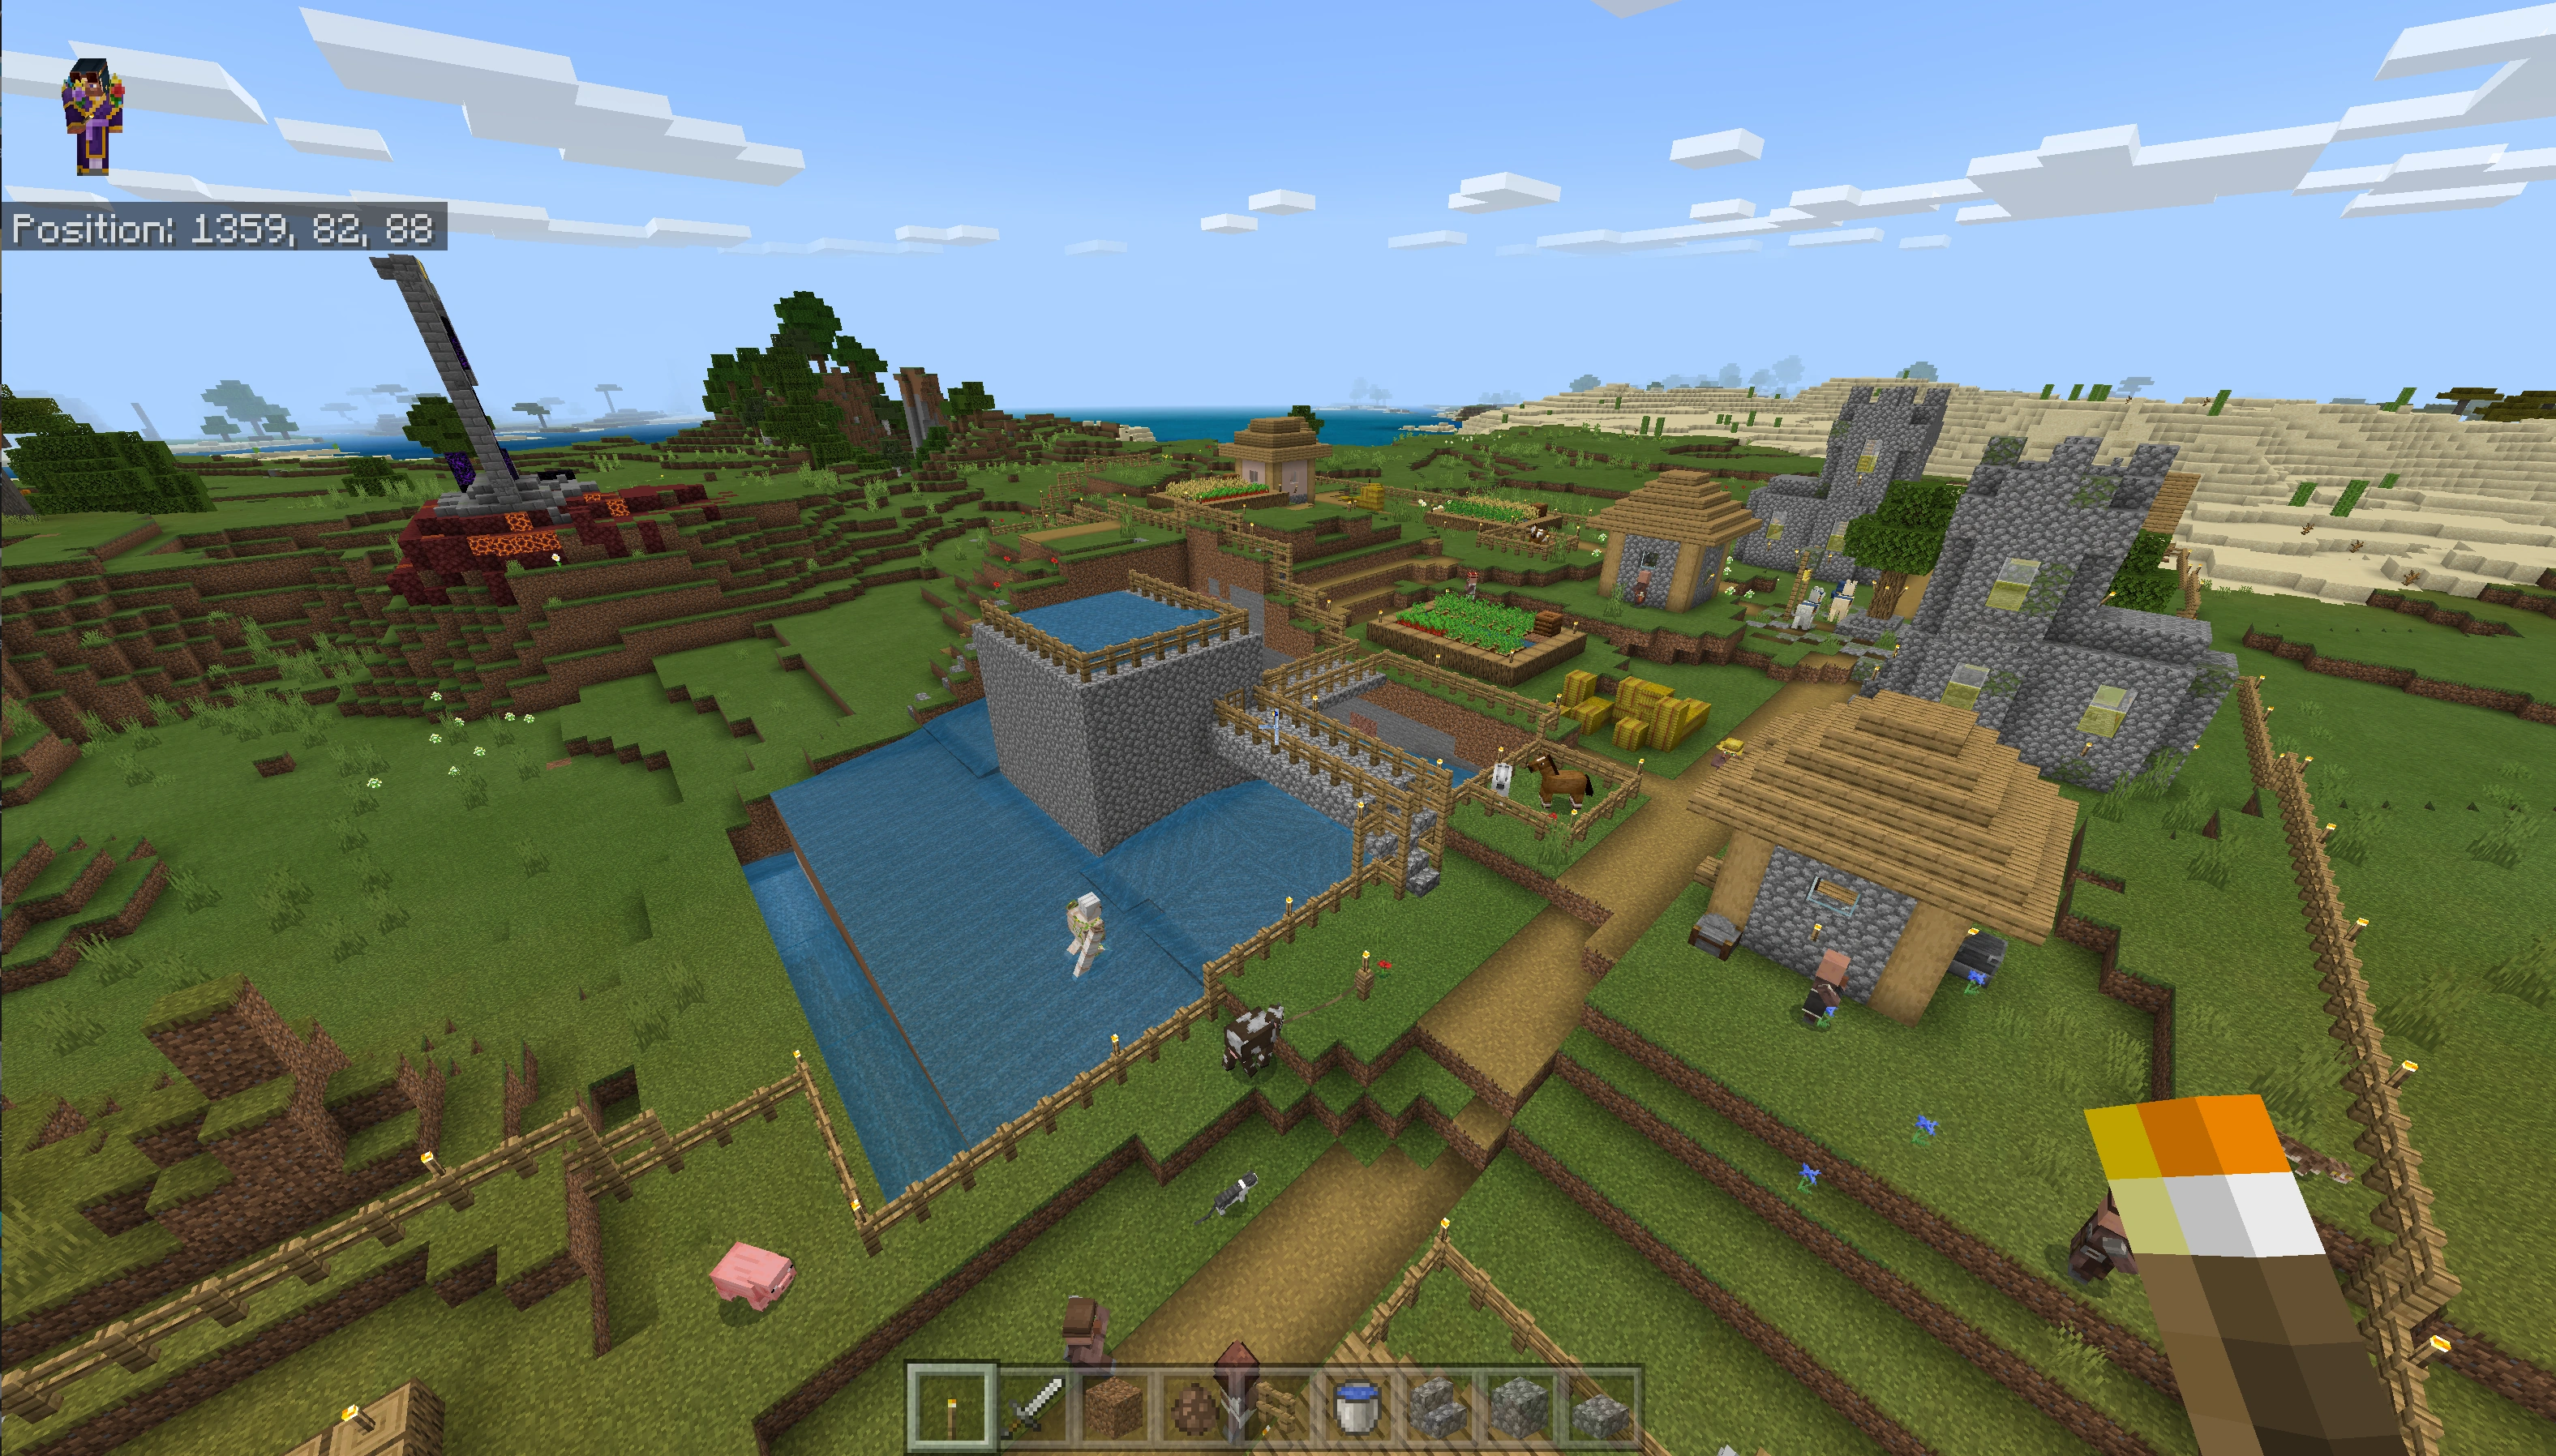
A village converted to an iron farm.
A village can be converted into an iron golem farm that requires no exotic materials, but patience and time to set up. It can be constructed early on in the game for an early source of iron, up to 200 ingots/hour with no optimization techniques; not the maximum rate but sufficient for any early-game iron needs.
The village functions normally and produces iron at the same time, without needing to transport, enslave, or imprison villagers. The villagers are free to roam and work, and every night they make their way over the bridges into the cobblestone bunker to sleep. The building has 20 beds in two floors, with a stairway between the floors and a path around the beds.
- Materials
The farm requires some basic tools: a bucket for both water and lava, one hopper, a large amount of torches, and several stone or iron pickaxes. Collecting all the required building materials is time consuming: primarily wood, wool, and cobblestone. It is best to collect your materials far away from the village. Trying to gather all the materials too near the village risks attracting zombies that can kill the villagers. You can estimate the number of fences you need by walking around the village perimeter; it is likely to require at least 4 stacks of fences (with a few fence gates) to make the village escape-proof and entry-proof, and 3 stacks of torches for adequate lighting.
- Preparation
An L-shaped village works best, with the farm built in the crook of the "L" so that the beds are sufficiently near the villagers' job sites for the villagers to pathfind between their beds and their job sites. The biome should be reasonably flat, like plains or savanna.
First fence in the village and light it up, and add a few beds to encourage the villagers to breed while building the farm, which will take a while. Remove any high blocks near the outside of the fence, to prevent hostile mobs from entering the fenced-in area. Once the village is fenced in, you don't have to worry about villagers interfering with your work, which happens outside the fence in the crook of the "L". Proper lighting also prevents any hostile mobs from spawning in the village.
Preparation matters. All it takes is one zombie to get into the community bedroom and you end up with a village full of zombie villagers. Moving the beds into the sleeping bunker to start the farm is the last step!
- Construction
Construction involves building the sleeping bunker with two floors (and a stairway between them) with 10 beds on each floor, at least one doorway to a bridge that rises up high enough to fit an iron golem underneath (the screenshot shows a bunker with two bridges for easier pathfinding), and making 7-8 blocks of spawning area all around the bunker. The lowest part of the spawning platform should be less than 6 blocks below the top floor of the bunker; starting level with the lowest floor would be sufficient. The rest is just water management and building channels to guide the iron golems into a killing area, which requires a block of lava, a hopper, and a collection chest.
Hostile mobs cannot spawn inside the fenced-in village, but they are free to wander into the farm from outside the fence (or even spawn on top of the sleeping bunker), and get swept into the mob grinder underground. This happens seldom, but you may find an occasional bone, arrow, rotten flesh, and other odd items in the collection chest.
Videos
Java Edition
- 1.19 Farm
Bedrock Edition
- 1.19 Farm
The Farm below can be further upgraded to a scale of your satisfaction.
Below is a variation of an Iron Farm with a Villager Trading Hall, a Villager Crop Farm, a Villager Breeder and a Villager Curer implemented.