For new players on Minecraft, fending off monsters and harvesting materials can already be a very painful and confusing job. This tutorial will help you construct some of the most useful as well as some of the most impressive buildings available to Minecraft.
Video
Basic house
A basic house is anything from a 3×3 square to a castle the size of a Minecraft world. They can be made of any material, in any biome, anywhere.
The Cube
The Cube is the smallest house possible. It only uses about half a stack of material and is just a 3×3×3 cube. There is a little space for a bed, furnace, crafting table and a chest to be put into the ground/wall. For the first night of Minecraft. People often take out the corners because, even though it looks ugly, it will conserve 12 of their precious blocks.
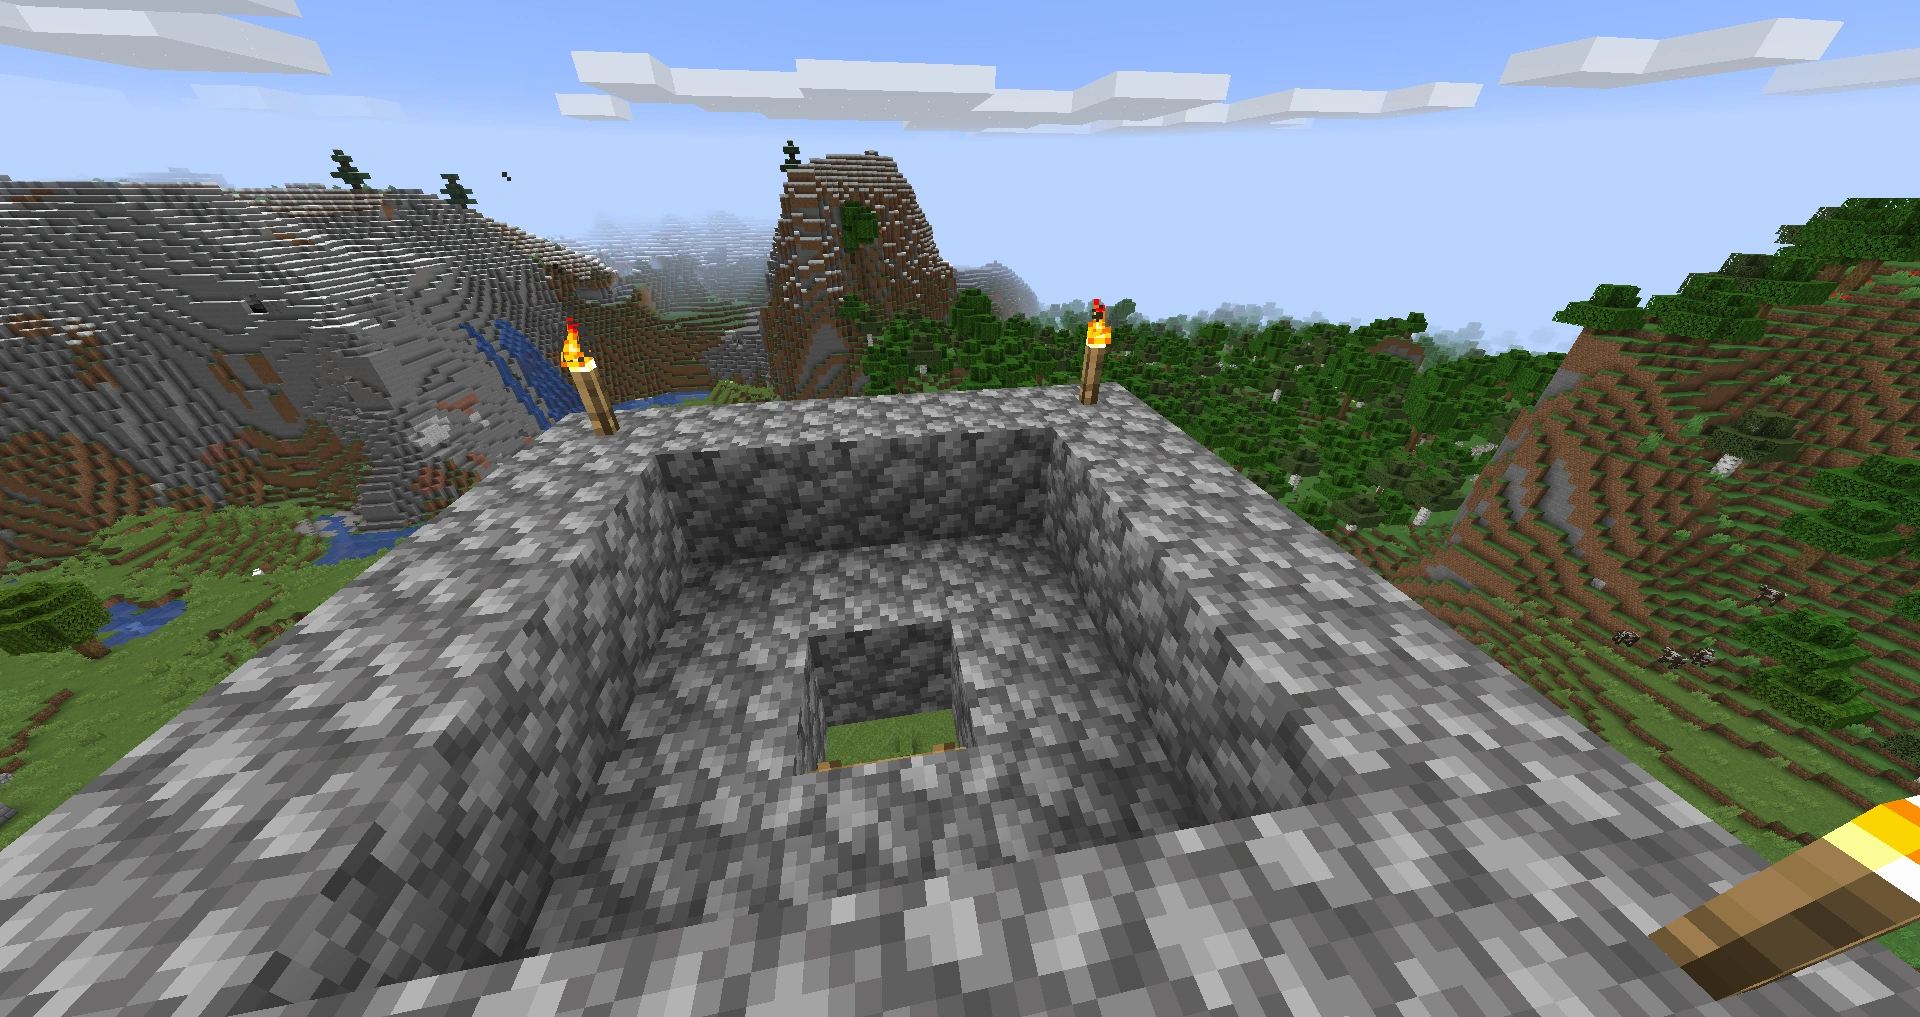
The Fortress
This is your best choice if you want to create a permanent base. This consists of a large fortified wall with an overhang to keep spiders out, as well a wet/dry moat (optional). This will surround your entire settlement. This means your farms, houses and any other buildings you have. You may also wish to build a secondary fortification inside as well like a real-world castle (see topic below), just in case of a breach. In addition, you will want to build guard towers in each corner of the compound. This is to help keep your walls clean of mobs. These towers, if possible, should protrude from the corners so that you can clearly see and shoot anything near your wall. Be able to do this for the entire length of the wall to the next corner, or minimally to the halfway point between the two towers. This type of building is recommended for a player with large amounts of resources at their disposal.
The Castle
Essentially the cube, except it has battlements containing (imaginary) snipers and cannons. One of the major differences between the castle and the cube is that the castle is supposed to actually look good. To make it look good you can extend out your cube and add blocks or slabs on every second block.
The cobblestone can be replaced with any block.
Build this on all 4 sides of your castle using cobblestone, wood or both!
Above-ground Bunker
A half-buried structure, it has the conveniences of underground shelters with the provision for windows which double as above-ground firing ports.
Also iron doors or trapdoors are a good choice when keeping the hordes out, or even better an underground system of tunnels connecting to multiple pill boxes or a base.
- PIll box outside.jpeg
- PIll box inside.jpeg
Free-standing Structure
A basic house that is built on flat land and is completely open. These houses are easy to spot, and may be multiple floors. On average, these houses use anywhere between 2 to 10 stacks of materials.
House-in-a-Cave(or Couse)
Instead of having to build a house, use what Minecraft provides you, and build your house in a cave or other naturally-generated structure. They use minimal resources, but may cost a significant number of pickaxes. They are hard to see, and a landmark is recommended. It is also helpful to acquire useful items like stone, iron and coal while you're digging out an area for your house.
Lean-to
A house that is part-free-standing house, and part-cave. Ideal combination of both worlds. The pickaxes are used here to gather materials for the main house, while making more room underground.
Space Needle
These houses are basically a large point leading up to a crazy height. They offer excellent views, and are quite creeper-resistant, especially if the bottom few layers are made of obsidian. However, they are very hard to expand, cost extremely high amounts of materials, and are rather monotonous to ascend. Building an elevator, preferably a two-way design, would solve the third problem.
Bunkmates
If you find an NPC Village, you can make your home in a villager's house! These are ready-generated houses handy for you to use, and expansion can be done with the help of a few spare materials.
Please note that if you are not on peaceful mode, you may cause a zombie siege.
Simple-framed Building
A simple and good-looking house can be made by making 4-to-5-block-high pillars arranged in a square or rectangle. These pillars can be made of cobblestone. Join them at the top with cobblestone beams. Then fill in the gaps with wooden planks. You can also add windows. To make a roof cover the top and place wooden stairs on it, arranged in a pitched fashion. Logs and white stained clay (or wool) can be used instead to make a Tudor house.
Underground Shelter
This is a type of building under the ground, like a bombing shelter or nuke shelter. This is for a more hidden type of shelter under the ground/ocean and makes a nonpublic safe house. They may be hard to find, so create a landmark to let you know it's there. It is safer than a shelter above ground. Advantages are no one/thing can find you, and you are more protected. You can also use it as a point where you can have a mine. Disadvantages are you can't have windows, so you have to actually exit your shelter to see outside (or make a hole in the ground to see outside) and the fact that every expansion requires a pickaxe. Also, if you break a hole and there's lava or water, you are stuck and you are very likely to die.
Cast and Molding
Casting and molding is slightly different than other methods. For molding, one uses dirt or cobblestone or another cheap, non-flammable material to fill in all the blocks they want hollow. Then, they fill it in with lava, wait for it to settle, cover the source block, cover in water and, lastly, break the dirt.
Casting means one fills layer by layer with lava source blocks and pours water over them, turning it into obsidian. It is very difficult as one needs a diamond pickaxe for mistakes and large amounts of buckets for effective transport of water and/or lava, not to mention the high danger of working with lava. For the large amount of lava needed, it is advisable to either find one or more lava lakes, or to go to the Nether. (more to come)
For something new, try lava on a tree, then just add water when it seems right to you.
Nether House
This is basically any type of house built in the Nether. It is highly recommended that you make it out of a blast-resistant block, such as cobblestone.
Landmarks
Mountain Marking
A simple way to mark a spot, if it is next to mountains, is to put some torches on the top. You can also add lava on them.
Statue
Statues, especially big ones, can be used to indicate a certain spot.
Materials needed:
- Cobblestone or stone. They are a preferred building material, but any block, for example wool, planks, or blocks of gold can be used as well.
- Optionally, glass blocks or panes.
- Signs. Again, it is optional, but it may be used to tell which statue is which, if you want to build many statues.
- Start by making the base of your statue. 10×10 should do.
- Place the blocks to make up the figure you want. It can be from creepers to slimes, from busts to full sized, be creative in making your statues!
- Mark the statue with a sign. Again, it is optional.
Light Beacon
Beacons/Pillars can be used to mark where your house/favorite mine is.
Materials needed:
- 4 torches, a bucket of lava, 5 blocks of glowstone, and 4 blocks of glass
- Lots of sand/dirt, etc.
- 2 buckets of water
- Some good food (if you get damage, although this is optional, you can make it on peaceful)
- Start by making a pool of water that is 3 blocks deep (make sure it's 2 blocks away from your pillar).
- Use the dirt/sand etc. and use the "pillar jumping" method to continually make a pillar up to cloud level. You now have the pillar.
- Now for the light. Start by putting the four torches one block lower than the topmost block, then change the topmost block with glowstone, and put the four remaining ones around it. Put glass above the four blocks and put the lava in the middle.
- Then jump into the water (don't worry- the water stops fall damage) and there you have it, your own light beacon.
You could also use a beacon block, but these are expensive to make and cannot be crafted early in the game.
Navigational towers and lighthouses can be created to help you find your way home after a trip to say, the beach. You'll need enough of some kind of block to make a tower of your desired height, a light source, and enough ladders to climb that tower.
- Start by using the pillar jumping method to create a tower, it is recommended that you use a more stable material, such as cobblestone. This tower should be built to your desired tower height. Feel free to add a balcony around you, but make sure to leave a hole where you can climb up. If desired, you can add glowstone, a torch, a redstone torch, or a Jack o'Lantern to the top, otherwise this can be accomplished later.
- Fall off the side of your tower. As you fall, stick against the tower, and place ladders right below you. If you're not worried about the damage, you can choose to simply fall off, and then place ladders as you climb up to reach the top. If there is water nearby, it's recommended to jump into deeper water.
- You should now be able to access the tower with ease. If you didn't do so already, place some sort of light source (Glowstone is preferable if you have some) at the top.
- Other, more complicated options, are redstone torch blinkers, or even clocks that are attached to note blocks.
A navigational tower, or lighthouse, made with cobblestone and lit with torches.
Lava Pillar
Another useful landmark tool is a lava pillar. Though slightly more costly than a lighthouse, it can be spotted much more easily, during the day or night. To build one, you need one bucket of lava, and enough materials to build one pillar of your desired height.
- Dig a 3×3×1 square in the ground. Ensure that the square is walled on all sides.
- Build a pillar right outside the grid (two blocks away from the center). This one should be made out of a weak and preferably collapsible material such as sand.
- Once you have reached the desired height, build a two-block-long walkway directly over the center of the pit.
- Go back to the pillar and destroy the single connecting block between the block over the center and the pillar.
- From the pillar, step as far back as you can and place your lava on top of the center block. Then destroy the outer pillar. Bear in mind, this could result in you being set on fire if you touch the lava.
- You now have a 3×3 column of lava that spans the height of your pillar. Because the lava falls into the 3×3×1 hole you dug in step one, it won't flow outwards, risking damage. If you still feel unsafe, feel free to build walls of glass around the pillar.
Flaming Netherrack Piles
You can also find your way home with burning netherrack piles. Just put a lot of netherrack on a hill or a mountain, and set the whole thing on fire. Once trees and grass burn down, it can become quite easy to see houses.
Pillar and Frames
To do this, you require item frames, and the items you intend to use to indicate such a structure.
For example, you can designate a mine by building a pillar and putting a pickaxe on the item frames on all four sides of the pillar.
Examples include:
- Bed - Home
- Pickaxe (any type) - Mine
- Axe - Forest designated for logging or a tree farm
- Hoe and anything that can be grown by planting seeds - Farm
Farms
Farms are ways of getting renewable resources in a relatively time-efficient manner. See the item and mob farming tutorials for more information.
Mines and Mining
See the Tutorials/Mining Techniques page for more information.