Cooked meat is the best all-around food in the game. To have meat readily available, one must farm animals. Farming animals also provides several other useful items: leather, feathers, wool, and eggs. A manual slaughter farm can also provide a fair bit of experience.
Video
Basic farming
A "manual" animal farming is pretty simple:
- Round up some (at least two) animals into a pen. Fences are classic, and avoid suffocation.
- Breed them until you have a reasonable number (or they're bursting out of the pen).
- Slaughter most of them, and profit. Breed some more....
To lead animals around, you need to wield the same food that you can breed them with (or a lead if you have slimeballs): Wheat for cows, mooshrooms, and sheep; carrots, beetroots or potatoes for pigs; seeds of any type for chickens. Once you've got them into the pen, start feeding them — as they go into love mode, they'll pair off and produce babies. (They will also produce experience orbs, make sure to collect them!) You can breed the animals about every 5 minutes, getting one young for each two adult animals in your herd. The babies will take about 20 minutes to grow up, so don't slaughter too many adults too fast.
There are natural limits to how many animals you can keep in a given pen — In particular, if it gets too crowded, animals will be pushed into the walls of the pen. If those are solid blocks, the animals will then suffocate; if the walls are fences, glass, or other transparent blocks, the animals can be pushed right through them, to wander the landscape! Usually the latter is better, since you can always hunt down escapees. Crowding through the walls is a particular problem after breeding, as baby animals can push the adults into the walls. If 24 or more animals occupy the same block, they will start taking suffocation damage as well because of the maxEntityCramming gamerule.
For sheep, you naturally shouldn't slaughter them, just dye them as desired, and shear them regularly. They will also need a fairly large pen filled with grass, to recover their wool after shearing. However, with the recent updates, sheep now drop meat as well, so you can kill them if you have no other sources of meat.
Chickens are a special case, because not only do they breed with wheat seeds, but they also lay eggs, and throwing eggs has a chance to produce chicks. This makes them very easy to multiply in general. The annoyance of having regularly gather the eggs prompted the development of "egg farms", where a flock of chickens are kept on water, and their eggs are gathered by the current to some central place. The recent introduction of the hopper now allows the eggs to be automatically stored, and even brought to a dispenser for auto-hatching.
A building to house all of the animals (like a barn) is useful and can be an aesthetic addition to any base. Consider the two videos below of a barn build:
| Starting the Barn (view on YouTube) |
|---|
| The Finished Barn (view on YouTube) |
|---|
Automated animal farming
Simple and Easy Cooked Meat Farm
Function
This is an easy farm to set up that only requires the user to breed animals and press a button. It is reusable and has very high efficiency. All cooked meats and other drops are collected automatically, and can be easily piled into a chest for collection by the player later. This farm works for cows and sheep.
Construction
- Refer to the video for the finer details
- You need a holding area with flowing water for the adults
- There should be a collection area for the baby animals that has a 1 block high entrance and a sign to block the water flow from the adult area
- The collection area should be only 1 block in area, and the floor should be a hopper running to a chest
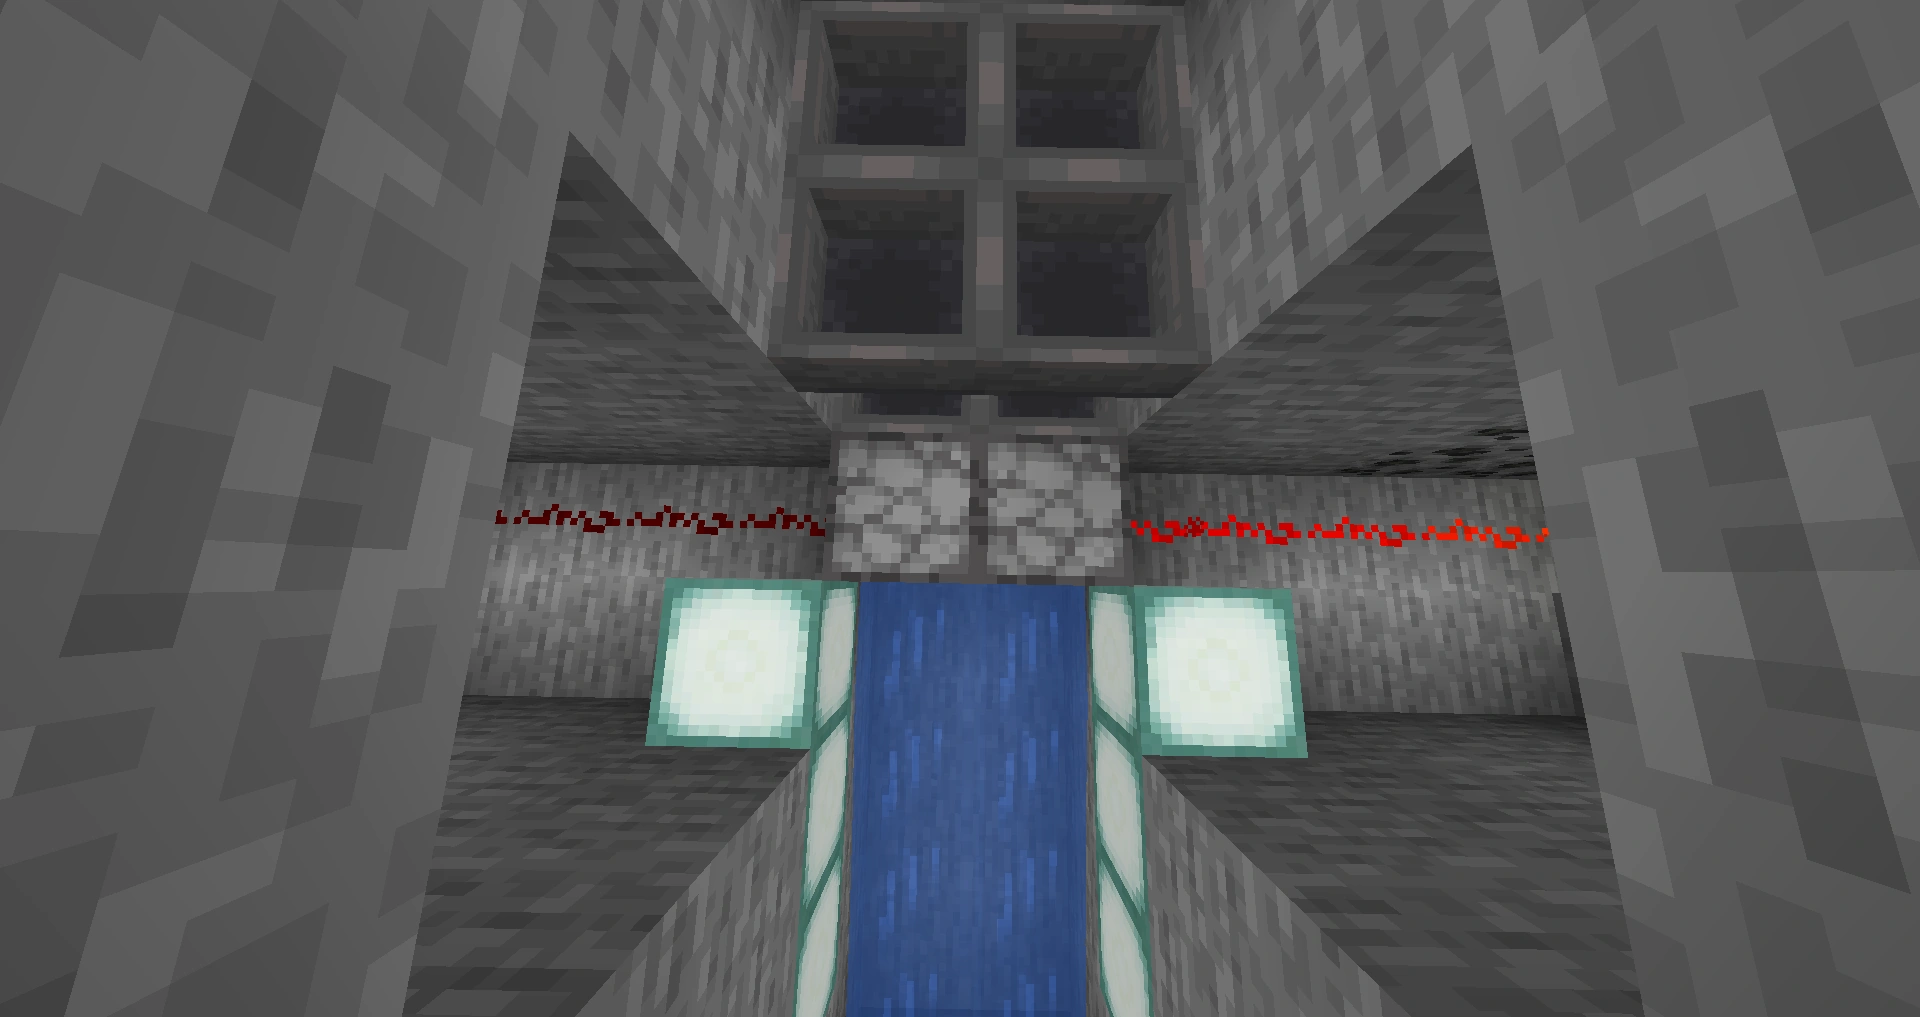
- A dispenser needs to face into the collection area, and it holds a bucket of lava
- Two separate redstone leads need to go into the dispenser
- THIS IS VERY IMPORTANT: on one redstone lead, you want three repeaters set to 4 ticks, 4 ticks, and 3 ticks. On the other lead, you want one repeater set to the default 1 tick
- Both of the leads connect up to a stone button, again VERY IMPORTANT that the button is made of stone because it has a different hold-down time than wood
Preparation
- Lead cows into the adult area with wheat before having flowing water in the area
- Breed them until you have as many as you want (the larger the area the more you should breed, but be careful of taking too many as it can impede the progress of the babies to their collection area)
- Add the flowing water into the adult area
- Breed away and watch the babies be swept into the collection area
Usage
- After breeding as many babies as you want, let them grow into adults in the collection area
- Once they are all adults, press the button. Watch the lava dispense, then retract, cooking and killing the animals, providing drops and cooked meat, all while leaving your drops unharmed!
Poor Man's Beef Farm
Function
An easy and simple way to farm raw beef. This farm utilises water currents and fall damage to kill cows for beef. Cows can be bred within the farm itself, making the farm a renewable source for beef.
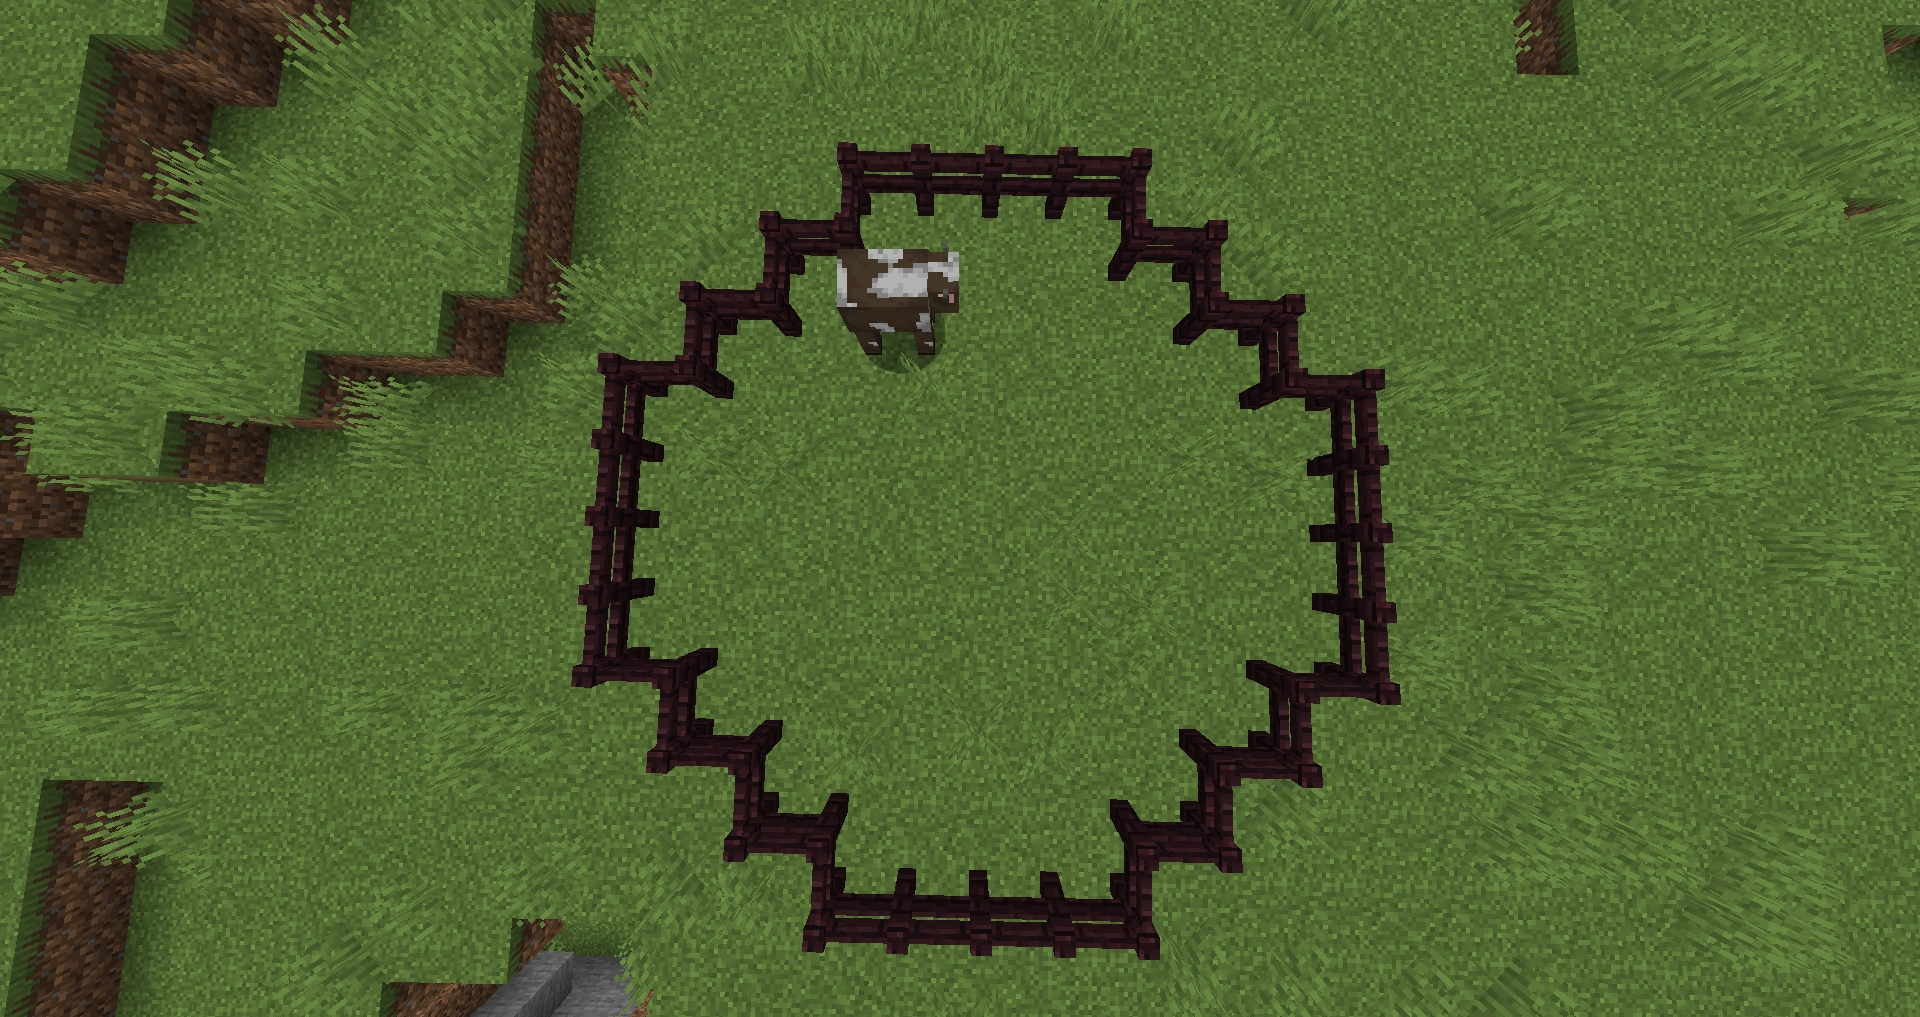
Construction
- Build a 12x12 fenced area.
- Build 4 upward facing dispensers at all 4 corners and fill them with water buckets.
- Hook all the dispensers up with redstone.
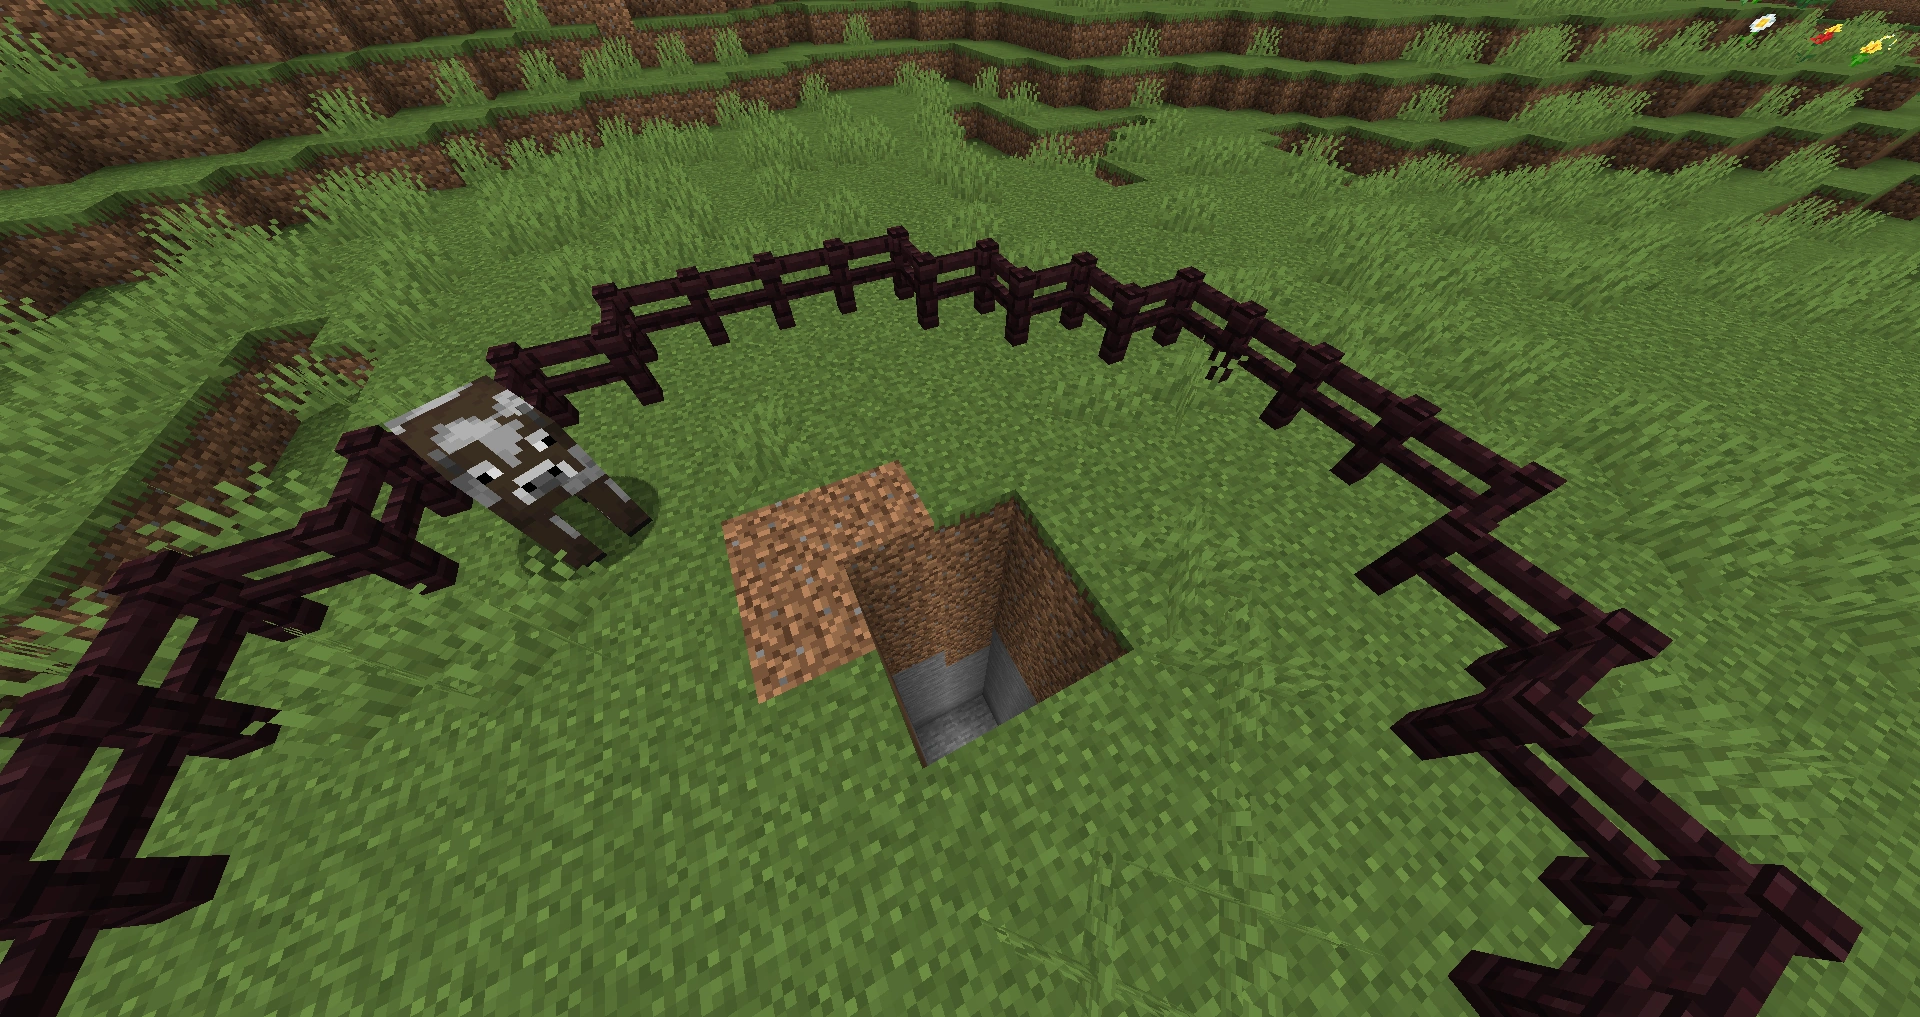
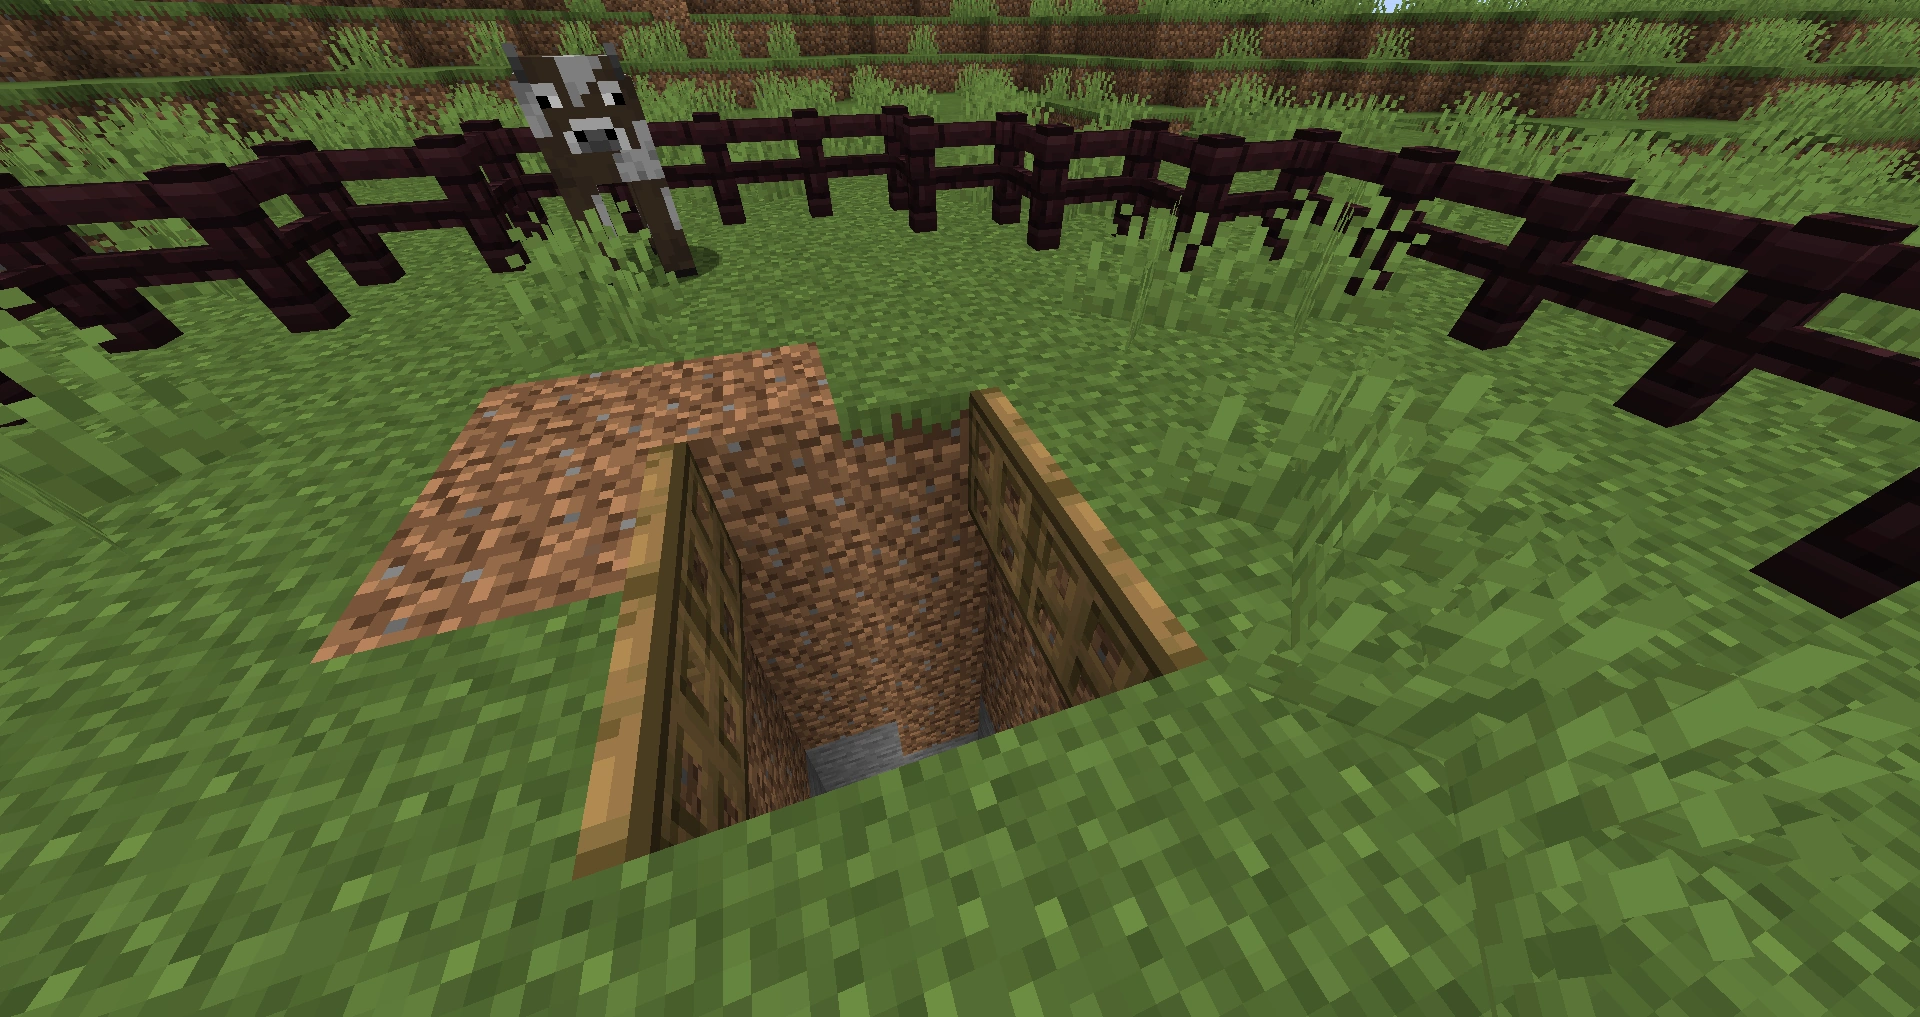
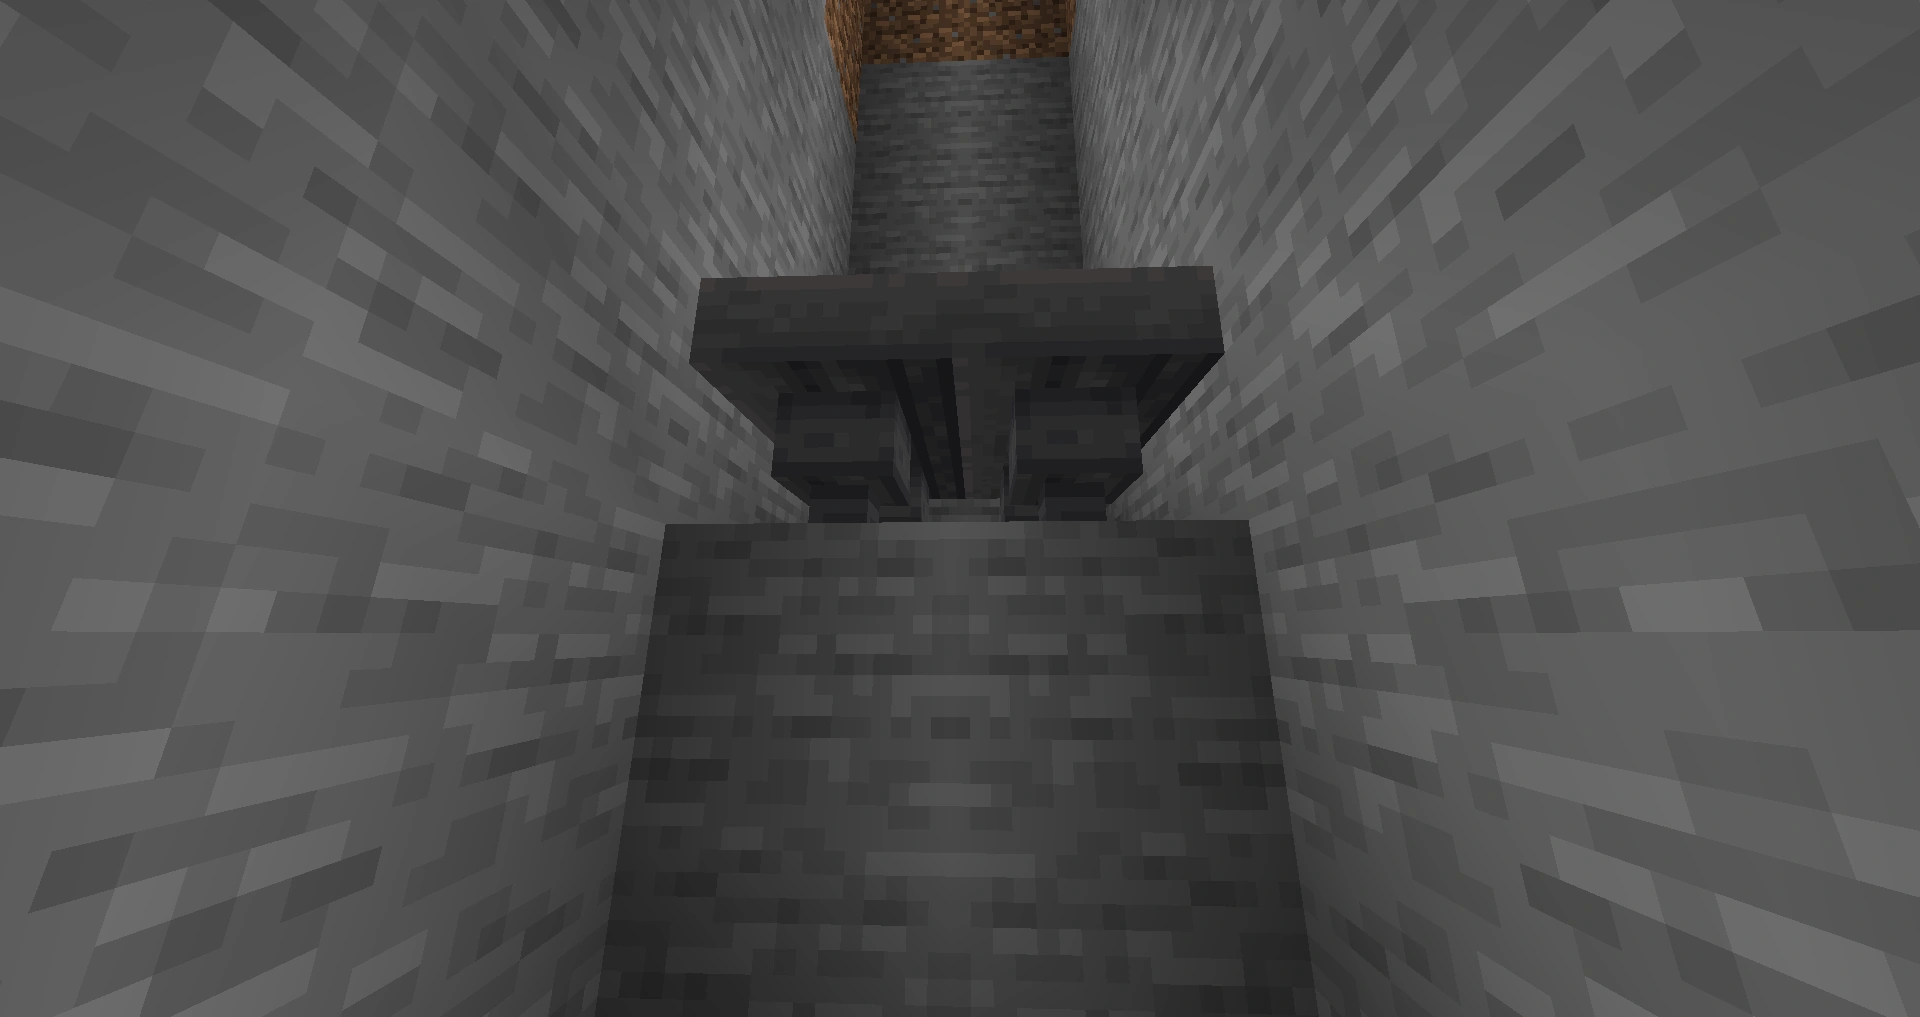
- Dig a hole of 13 blocks deep in the center of the fenced area.
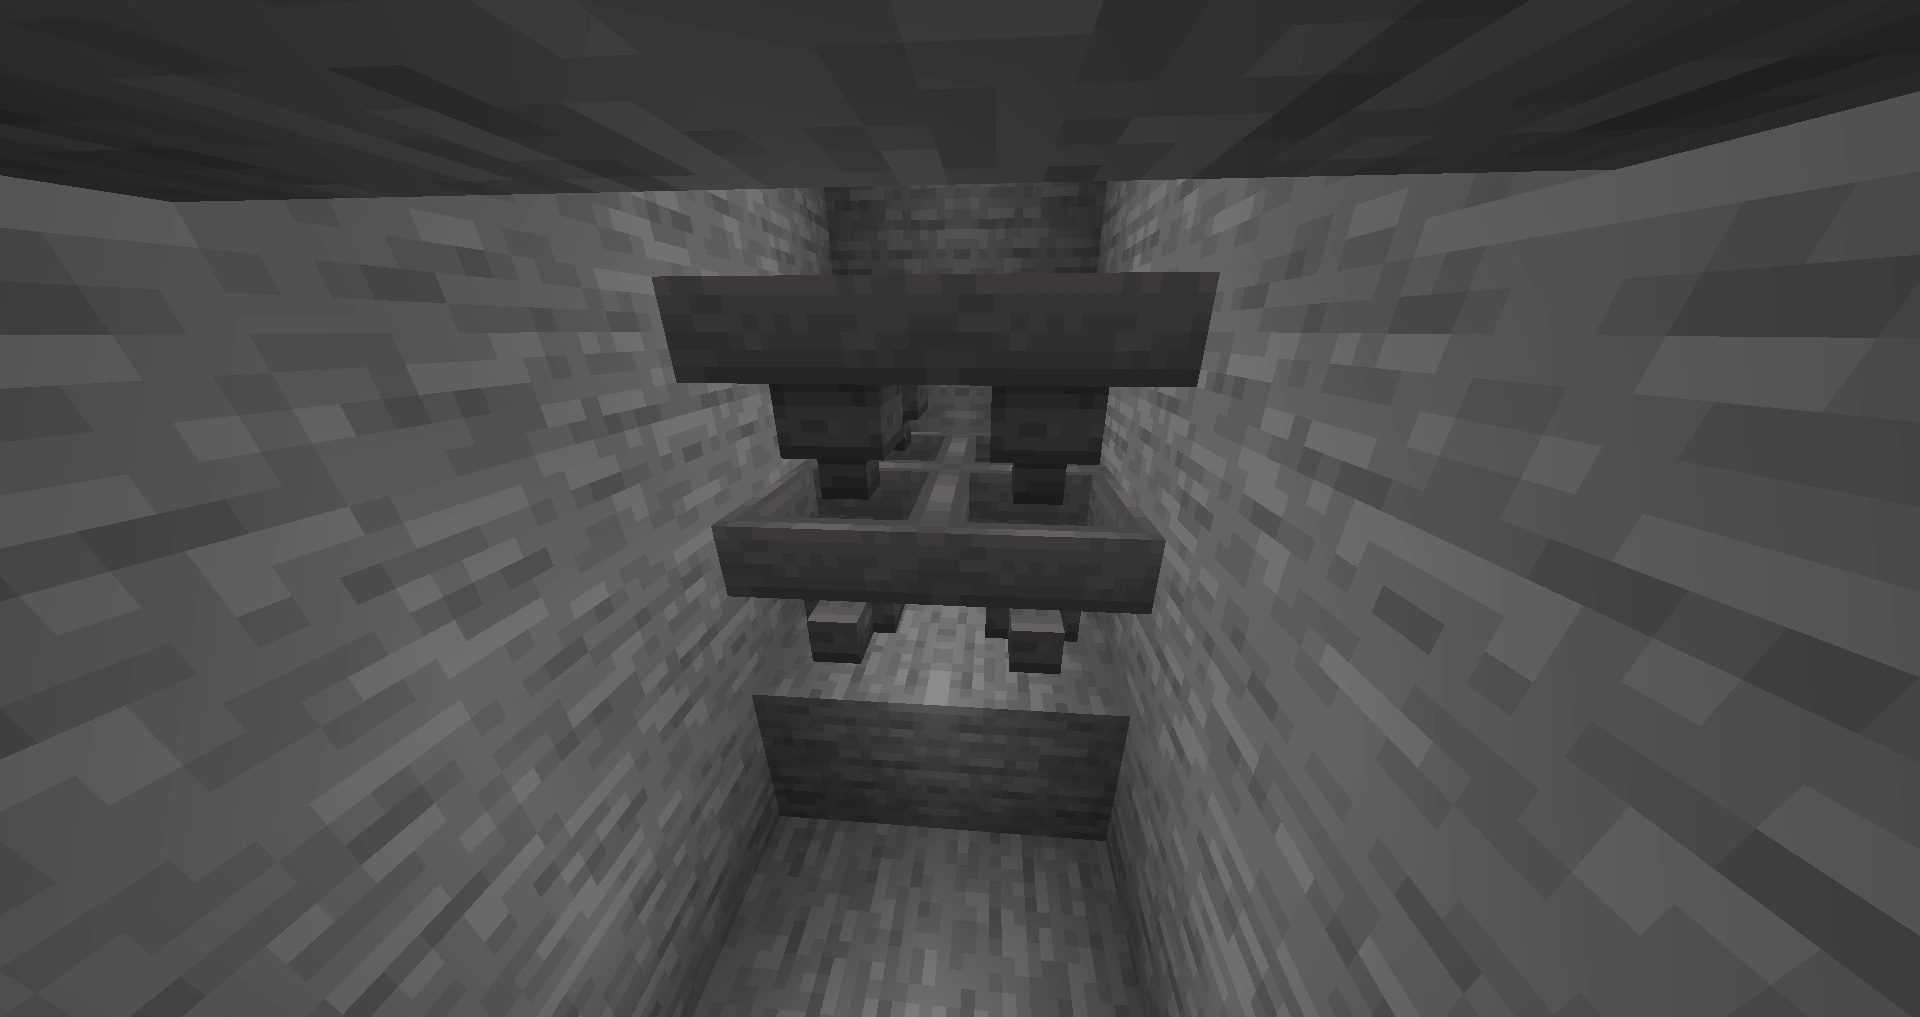
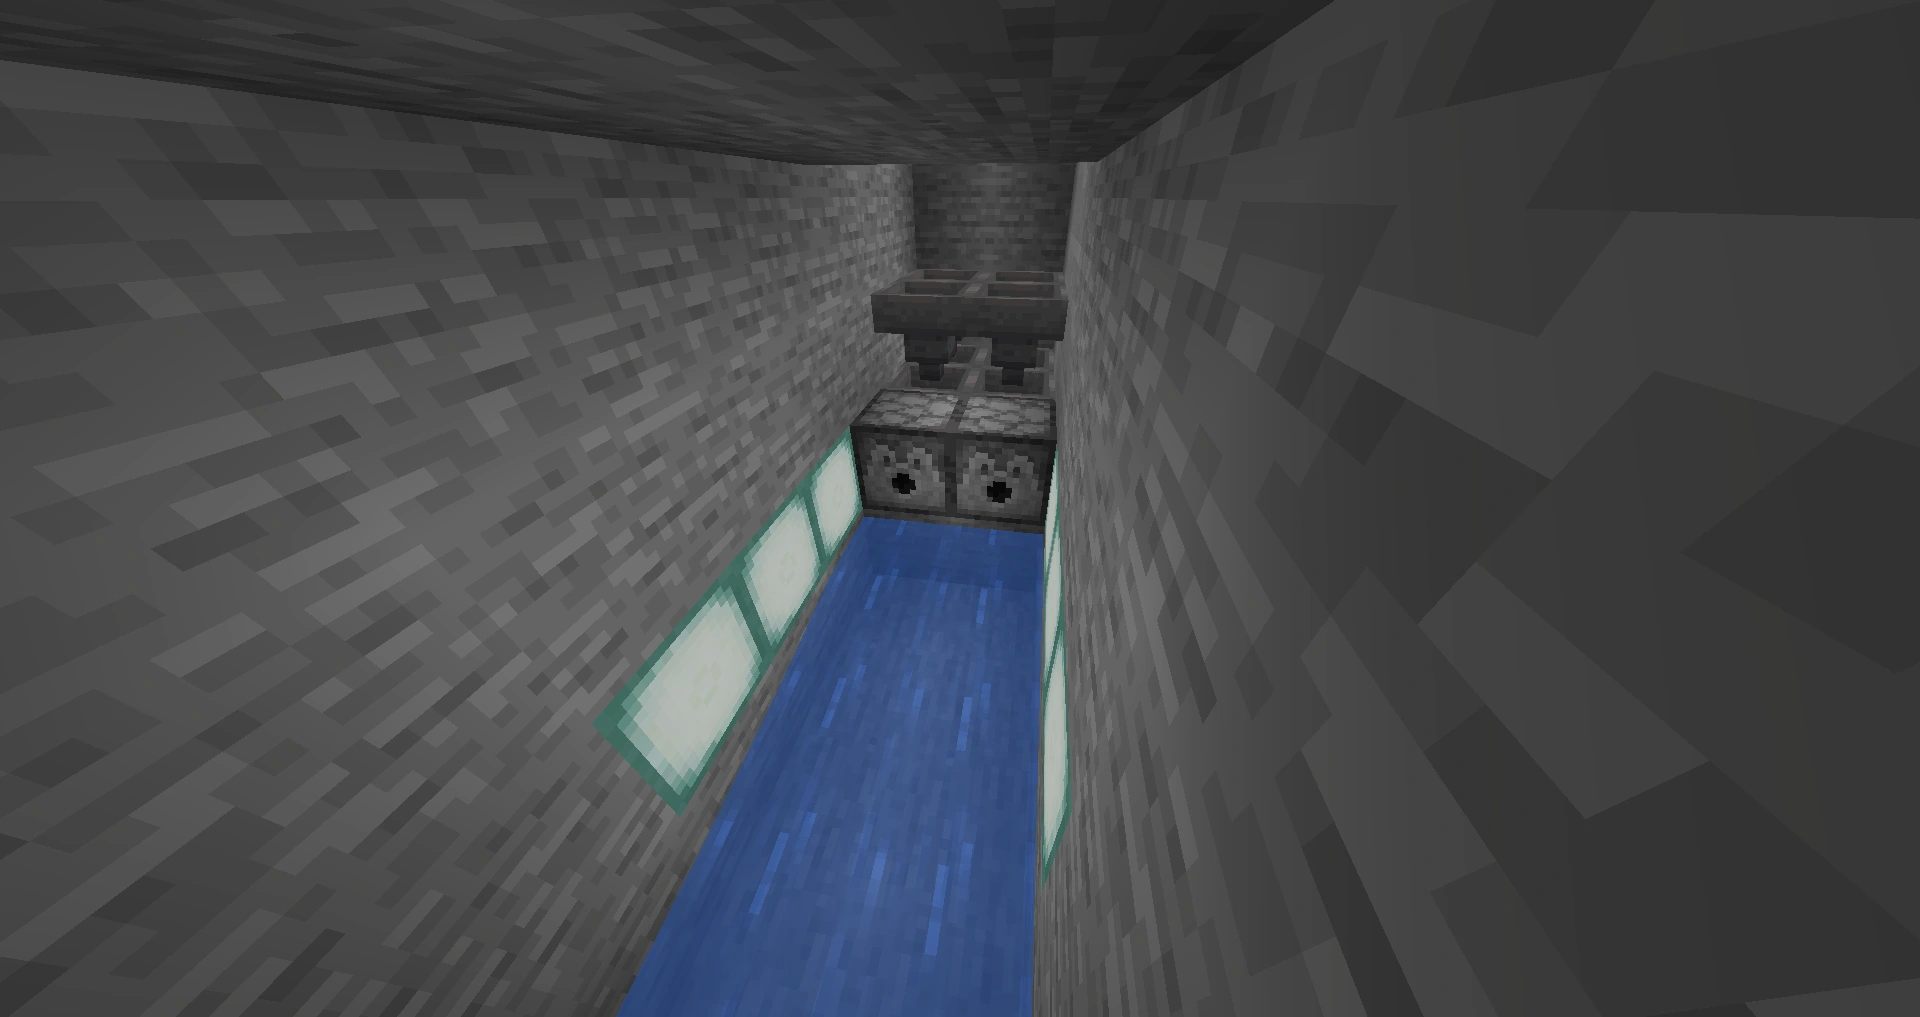
- Build a hopper collection system at the bottom of the hole
Preparation
- Lead your cows inside by holding wheat.
Usage
- When the farm is full of cows, activate the dispensers.
- Keep off some of the cows for beef while leaving some for breeding and re-population.
- Breed the remaining cows until the farm is full again and repeat the process.
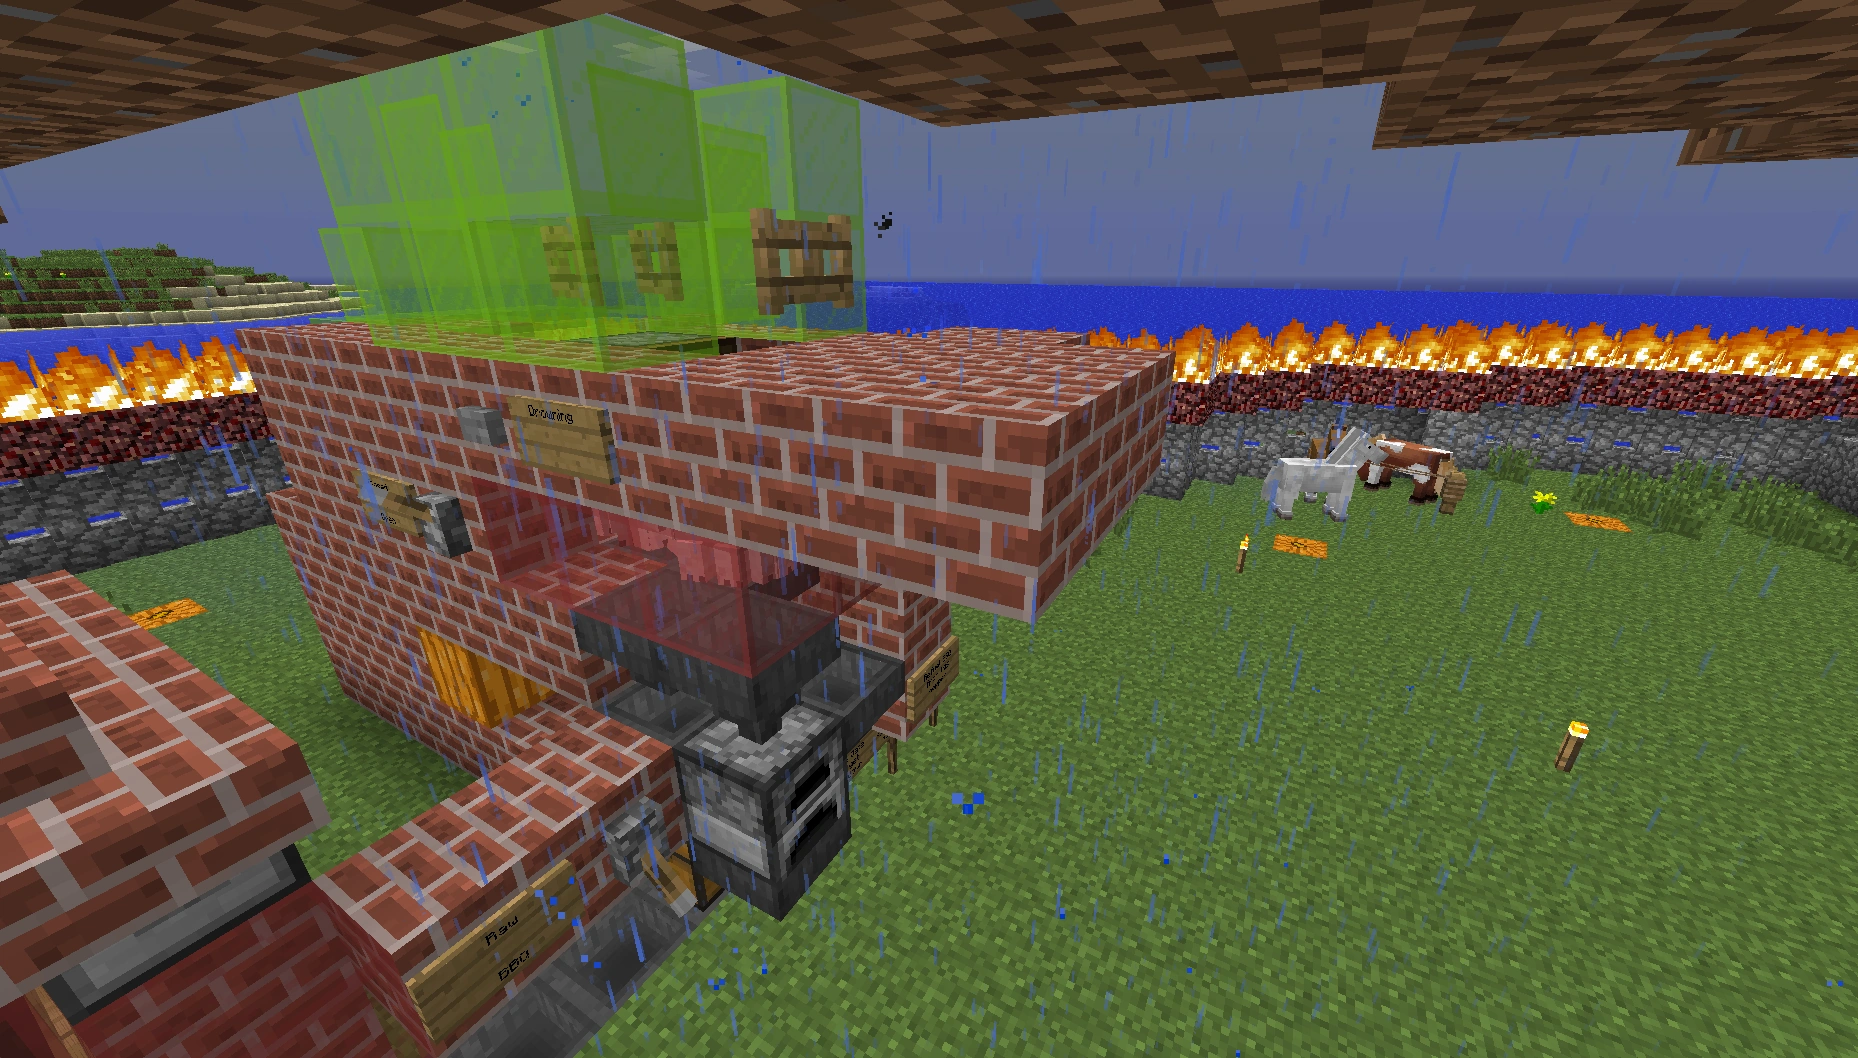
Cruddly's Steakatron 2000

Function
To greatly ease and speed up the production of steak, raw beef and leather.
Construction
- Start with a double chest. This will be the front. To dress it up, put two item frames on the front, with a raw beef on the left and a steak on the right. This will help you remember which button to push to slaughter the cattle. Optional: use an anvil to rename one of the chests "Meat locker" and place it first.
- Behind the chest use a 2×2 grid of hoppers pointing forward into the chest.
- Above the chest place a 2×2 of red stained glass (keeps the cleaning to a minimum!). (NB: Chests will open into transparent blocks).
- Make a rear wall of glass.
- For each side add a two stacks of opaque blocks 3 high to be the walls (level 1 is on the ground next to the hoppers). I use red brick, to keep the cleaning to a minimum.
- Make the top front block on each side a dispenser pointing inward, with a button on its front side. Put a bucket of water in the top left one, and a bucket of lava in the top right one.
- Place signs inside at 'ground' level on the 4 internal walls of the blocks. This will hold our killing liquid above the heads of the calves.
- Make stairs running up to the roof for the left side.
- 6. Add a roof of a ring of stairs around the outside and attaching trapdoors to the bottom of the side stairs directly above the internal space. That's 4 trapdoors.
Preparation
- Lead your cows inside by holding wheat and standing on top opposite the stairs with the trapdoors open, then close all trapdoors and get down. Kill any remaining cattle by hand. This will be the last time you have to manually slaughter cattle.
- Stuff some wheat into your meat locker.
Usage
- Grab wheat from your meat locker, go up stairs, open some trapdoors, and feed all the cows. Close all trapdoors when done.
- Decide whether you want raw beef (useful for trading with village butchers) or cooked steak (useful for eating). Press the appropriate button, wait for the adults to die, then press the button again. Lava takes moments, water takes minutes. Of course, if you are desperate for experience, you can open the trapdoors and slaughter by hand.
- Grab your produce from the meat locker and walk away.
If you ever need to lead some cattle away to elsewhere, leave the trapdoors open, hit the water button until sufficient have escaped.
Caleb's Automatic Uncooked Chicken and Feather Farm
In order to make an Automatic chicken farm, you must first make an egg collector that then shoots those eggs in a holding pin until they are ready to be killed then drown them. You could also use lava but that would require more precision. Video tutorial coming soon.
DJ&Riggaz Automatic Cooked Beef and Leather Farm
Video tutorial is available "here". In trying to make an automatic cow farm that actually cooks the meat into beef before the cow dies is a problem that a lot of people face. The big question in this is usually whether to use lava or netherrack. Well personally, I'd believe that using netherrack, as cows are so big allows for the best and most efficient farm. Using a breeding station of some description as the hub of the design, with a water flow from the breeding pen leading to the cows falling onto a single block of lit netherrack at the very end of the water flow, followed by being pushed off from pistons that are underneath the last water block after a few seconds will cause the cow to die in a burning fashion a lot of the time, ultimately giving you beef as well as some leather.
Cruddly's Porkatron 3000
Function
To greatly speed up the production of raw porkchops and cooked porkchops. Incorporates an auto BBQ (existing art). It utilizes a gap made by a redstone repeater with a block above to separate the pigs and piglets.
Construction
Step 1: Auto BBQ
a. Place a chest looking to the left of the desired machine area.
b. Connect a hopper in front of the chest (from the machine perspective) to the chest. Above the hopper place a BBQ (furnace. On the right of the BBQ connect a hopper for fuel. To the right of this fuel hopper, place a solid block with a sign reading "Refuel BBQ here"
c. Above the BBQ connect a hopper for food (BBQ feeder).
Step 2: Cooking selection
a. Behind the BBQ feeder (2 blocks above the chest), connect another hopper (the collector) and then connect a hopper to the top of the chest (the selector).
b. To the left of the selector place a solid block, and place a lever on the block. Place a further block to the left of the last block with a sign reading "Raw" on the top and "Cooked" on the bottom.
Step 3: Separator
a. Behind the collector connect two more hoppers in a line (the floor).
b. Wrap the floor in blocks to create a 2 deep containment pit (slaughter house). It is advisable to use glass on the right side to make it easier to check if the pigs have drowned.
c. Remove the rear lowest wall block to extend the floor and place a gate (side gate). On the outside of the block to the left of the gate, place a lever. Next to the lever place a sign, at the top reading "Closed" and the bottom reading "Open".
d. Behind the gate place a redstone repeater and place a solid block above it. This creates a gap that baby pigs can pass through, but adult pigs cannot. This is the money...
Step 4: Finishing up
a. Behind the slaughterhouse create a 2 deep containment pit. From this pit have steps wind their way clockwise to level with the top of the slaughterhouse. Wrap the stairs in walls and roof suitable for pig containment and leading them to the slaughterhouse pit. Use plenty of glass to make it easy to see the piglets later.
b. Place a downward facing dispenser _in_ the rear top of the containment pit and put a bucket of water into it. On the outside of the block to the left of this dispenser place a button and a sign next to the button reading "Drowner".
c. In front of the dispenser, at the bottom of the top block, place a trapdoor. In front of the trapdoor, on top of the block at the top front of the slaughterhouse place a gate, and ensure the walls for pig containment connect neatly with the dispenser, trapdoor hole and gate (operator gate).
d. On the top of the dispenser place another gate (top gate).
e. Extend the area behind the operator gate for 3 blocks and create stair access from right side.
Preparation
Lead your pigs via the operator stairs and gate into the slaughterhouse using carrots.
Usage
Note: It is advisable to briefly note these instructions on signs next to the machine.
1. Select cooking options: raw or cooked. Open side gate, close top gate. This will allow piglets to escape and be unable to re-enter the slaughterhouse.
2. Open the trapdoor. Feed / breed the pigs, close the trapdoor, then, still holding the carrots, proceed to the rear of the machine to entice piglets out of the slaughterhouse. Once all piglets are out, put the carrots away.
3. Return to the operator gate and look out to the left of the machine for the drowning button and press it. Wait until all pigs have died and press the button again to retract the water.
4. Close the side gate, hold your carrots again, and open the top gate to entice all piglets into the slaughterhouse. Once all piglets are in, close the trapdoor and collect your food from the chest. Note that if using the cooked option, there will be some delay whilst the BBQ slowly cooks all the food. Best to come back later and collect the finished product then.
Modification Notes
Adult pigs cannot fall through a single trapdoor. A single water source dispenser will not drown in any block more than 1 square away. It is possible to use redstone dust to relocate all controls to the front of the machine or the operator gate area if so desired. It is also possible to use an inverter circuit to ensure the top gate and side gate are always in opposite states.
Falling Auto-spawn trap
- Video
Tutorials/Animal farming/video
- Resources
You will need:
- A light source, such as torches or glowstone
- Trapdoors
- Signs
- Fences
- A redstone loop
- Dispensers
- Hoppers
- Water buckets
- Stones
- Chests
- Step 1
Choose any place and put fences here, the fenced area can be bigger, but it's recommended to be big. In this tutorial, the fenced area is small.
- Step 2
Make a 2x2 hole. It's recommended to be deep, but if it's smaller, read the optional part later.
- Step 3
Place a trapdoor and open it.
- Step 4
Place four hoppers.
- Step 5
Place four more hoppers and make a hole in the wall.
- Step 6
Place two dispensers at the front of the hopper, then place water and a double chest.
- Step 7
Make a redstone loop.
- Step 8

Close the hole in the wall, where the redstone loop is.
- Step 9
Close another hole in the wall. If you have a little hole or you want cooked steak, read the optional steps.
- Optional steps
 Place two signs.
 Then place lava.
Semi-automated farming
Sheep farm
Sheep farming is notoriously difficult because you don't want to kill the sheep, however if you stack them in one place it's impossible to shear them all. However if there is a block of water, or flowing water the sheep will bounce up and down, ensuring you can shear all the sheep from one spot. Below is a step by step guide on how to use this to your advantage.
This design can shear 100+ sheep in a minute or so. Here is a video link for those who don’t like reading.
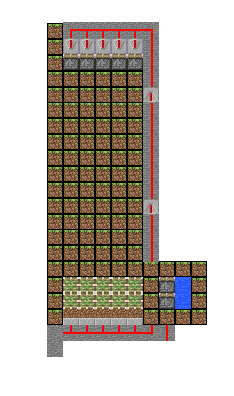
First you want to make a flowing water wheat farm, but with higher sides and about 12 blocks wide. If you don’t know how to make this, read on, or skip to step 4. The layers I’m referring to are the blueprint pictures I have uploaded at the bottom of the page.
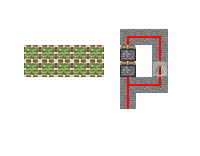
- Step 1: create a dirt/grass platform 5*8 blocks, as seen in layer 3. The outside grass blocks, built around this platform, act as walls, built up 3 blocks so the sheep don’t jump out.
You can use any solid block (can’t use fences or glass panels as sheep get stuck) but you need a way for the grass to grow in the farm otherwise the sheep won’t regrow their wool. Build an extra level around with grass blocks if you wish to do this.
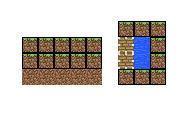
- Step 2: Build another level, same dimension (*5*8), with the smaller length touching the previous platform as seen in Level 4. Don’t put the water in yet, that will go last. Instead one block up place a piston facing down (Level 5). This will allow you to manage the water flow.
- Step 3: Cover the water area with a solid block (It’s stone in the diagram) and have redstone repeaters facing the pistons. Connect them up with a line of redstone and drag it to the other end of the structure. Use a leaver to turn them on and ensure all the pistons go down/are powered. If not you may need a few redstone repeaters to keep power going. When all the pistons are powered you can put in the water blocks behind the pistons and ensure the water flows down the first level, but stops just before going to the second/last/before the hole. Like a flowing wheat farm.
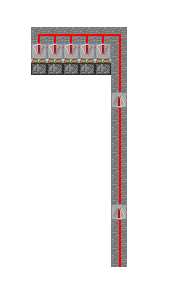
- Step 4: At the bottom of Layer 3 you will notice a gap 2 blocks high and 5 long with half (stone) slabs at the other end. This is where your sheep will fall into. Build a 3 block high wall around this area and at the end place half slabs.
The half slabs allow you to gather the wool without gates and stops the sheep from jumping out of your farm.
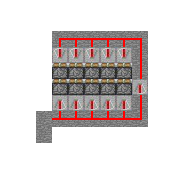
- Step 5: On one side of your sheep farm will flow the water supply to make the sheep bounce. Build a 3*4 outline using solid blocks that connects to your outer wall, but one block below. (as seen in layer 2). Below this build 2 pistons between the water blocks and the sheep platform. Ensure there is a block below the water holding area. Next connect up the pistons with redstone as seen in layer 1.
- Step 6: One level below that build 2 rows of sticky pistons that face upwards in the middle of your sheep collecting pit. Place grass blocks on these.
- Sticky pistons aren’t essential and can be replaced with normal pistons. Just remember to move Layer 0 up a level. The upside to having grass here is so the sheep have more to graze on.
Point repeaters to all the pistons and connect up with redsone.
- Step 7: Move all your leavers and redstone paths to Layer 3 for easy access, ensuring the lines don’t switch up and power something they shouldn’t, then label. You should now have one switch powering the turrent of water on level 4 (Gathering switch), another that raises and lowers the platform at the bottom (Platform switch) and the last that turns on and off the small body of water (Harvesting switch) which makes the sheep bounce. Test to ensure they are all working then go get yourself some sheep!
Warning: If the gathering switch is turned on, ensure the harvesting/other water is off. If they are both on together sheep will bounce over each other and escape. Remember, if one water is on, the other must be off. The procedure is a follows
1. Lower the platform (Platform switch)
2. Turn on water torrent (Gathering switch)
3. Wait until all the sheep are in the hole
4. Turn off the gathering switch
5. Turn on Harvesting switch
6. Grab your shears, right click and point to a sheep, as they bounce you will collect wool. Ensure you get all sheep by moving around a bit.
7. Turn off the water and raise the platform.
8. Jump in and collect all the wool.
9. ????
10. Profit!
Notes:
- The stone blocks can be switched around to make different designs. The only important ones are the grass blocks in the center.
- This design has been tested with 100 sheep successfully but with that many problems arise. If some of your sheep are missing they may have glitched through a wall.
- Max time between harvesting: Unknown
- Max number of sheep possible: Unknown
- Max number of water levels you can create: Infinity! (I think)
- If you would like it to be wider, you can mirror the design and have two water bodies joining together. However this is the widest combination because you have to be able to control the water. Perhaps someone else will be able to solve that problem.

Layer 0

Layer 1

Layer 2

Layer 3
Layer 4, connects to the top of layer 3.
Layer 5
Overhead Blueprint.