NOTE: We believe that this page should not be merged with the Minecraft in Education Page, this is completely different to their page.
In this project we want to talk about Minecraft being used as a Learning Tool in schools. We know that it is actually a really good tool to use to help with teaching, learning and presenting work in schools. This project may seem a little bit similar to the Minecraft_Wiki:Projects/Minecraft_in_education project, but there is one major difference between our two pages; their page aims to use minecraft survival in education to mainly build on teamwork and how to play minecraft [citation needed]. Whereas we intend to use minecraft in creative to teach students about electronics, 3D design and how to go about designing and modelling objects.
The Main Idea
We want to get minecraft to be used for educational purposes, as well as for fun. For education we don't mean having a bunch of kids on computers playing minecraft survival, we mean a bunch of kids on computers learning things, and testing them out, looking at how they work and improving them.
Who's Involved
Ok, I must admit... It's really just me and a few friends who don't have minecraft wiki accounts at the moment...
List of people involved:
- Fire2738 (talk) 09:52, 2 November 2013 (UTC)
- GunslingerN7, Technology and Gaming Freelancer (Talk) 20:49, 30 July 2014 (UTC)
- Luna (talk) 22:17, 6 March 2020 (UTC)
To Do List
Ok, this is my planned, to-do list:
- Subjects that could be taught sections
- ??? (Give us ideas)
- Teaching Strategies (I know, a bit boring but needed)
- Getting more pictures
- Organizing Information into separate Pages
- Will be done when all information is finished
Ready stuff:
- Setting up a Minecraft teaching environment section
- Subject sections created:
- Electronics
- Architecture
How a Class might Work
At our school we had an unofficial Minecraft Program. We had a teacher who played a little bit of Minecraft and also knew a lot about electronics and programming. He got together groups of about 6 and we would be sat down in classes with him. He taught us all sorts of things about electronics; starting from basic terminology and then about logic and making machines that would work and interact with people or the Minecraft environment and learning about binary. He also taught us about space and rockets (but that's something else entirely).
As we learnt more we were given harder projects. We started off with small projects like an AND gate powering a door, to an XOR gate for a light in a room (turns on and off from 2 inputs), to contraptions like a lighthouse or piston doors. And finally we were given big projects. The teacher would print us out the blueprint for an electrical component and we were to make it in Minecraft, we weren't to make it the quick way, or from Youtube; we had to make it exactly as it was, using the logic gates and wiring exactly as it actually worked. One major project we had was an 7-Bit Display system that worked from 4 levers; each controlling one byte (it could display 1 - 9). Later, we expanded on the 7-Bit Display, we added a binary adder and subtracter to it so that it would count down or up. Once this was done we had all sorts of fun with it. We took a schematic of it and used it for all sorts off purposes, including a pig race where it would count down, the gates would open and it would show which lane was leading. Although the 7-Bit Display was a bit buggy and laggy it still worked as well as a real one.
Setting up the Minecraft Teaching Environment
In this section we will talk about how to set up a teaching environment that can be used for education. It should be relatively easy to follow and shouldn't be too hard to understand.
The Main things Required
Firstly, you want to get together two to six (depending on your preference) computers that will be used for your students. You might like to buy some cheap, but reliable graphics cards and RAM cells for the computers so they can run minecraft... I would recommend at least 2GB of RAM for each computer. You will also want to get another computer (could be Windows Server OS) that will run as your main server for the students to connect to.
Connecting everything together
Secondly, you will want to connect all of your computers together so they can connect easily and quickly. You may like to get a router, and it enables you to plug in blue-ethernet cables into one side so that multiple computers can use the same ethernet port. It also establishes a sort of LAN network I believe.
Anyway, you'll want to connect all the computers together so they can connect to each other. Once they can connect via minecraft LAN you can be pretty sure that the connection works.
Setting up the Server
NOTE: Because of the fact Craftbukkit is no longer available, I changed the Bukkit parts to Spigot. I hope it does help
Thirdly, we need to get a Minecraft server up and running. You can set up your server using either Vanilla (un-changed Minecraft) or Spigot. We would definitely recommend you use Spigot as it has a large, friendly community and has a wide range of usable plugins. You'll want to download the .jar file for either Spigot or Minecraft Vanilla. Vanilla can be found at: www.minecraft.net. Spigot can be found at: http://getspigot.org or http://spigotmc.org
Once you have downloaded your server .jar, make a folder on your server computer. The folder can be where ever you like, but we recommend that you put it in your C: Drive. Call the folder something like "School Server" and put the .jar file in it. Now you will want to make the server. To create the server just follow the tutorial on Bukkit (the link will be a bit lower, also works for Spigot), you'll also want to rename your .jar file to something like "server.jar" and then where it says, "spigot.jar" or "spigot-server.jar" replace it with the name of your .jar file, eg. "server.jar". The tutorial is the same for Spigot as it is for vanilla. Bukkit Tutorial: http://wiki.bukkit.org/Setting_up_a_server . Once your server is up-and-running you will have multiple folders in your server directory. For example (if you used Spigot) you will have a folder called Plugins. Run the .bat you made from the tutorial to start your server. Write "stop" in the console window to stop the server. It is very important that you write "stop" and don't just close the window.
Setting up the Minecraft Environment
Next we will talk about setting up the minecraft environment. You may like to let your students do a little bit of survival gameplay just to see how well they get along and to see if they have basic skills in minecraft (controls and how to use inventory mainly). A good way to check if they will work together is if you watch how they play. Do they all group together and build a shared house/base and all help out or do they separate and do solo survival. It's a really good sign if they all join together; this means that they can work as a team. It is also a good idea to cycle the students through having OP Status, being an OP (or "operator") means that you have access to all commands. It is good to cycle through OP to see if the students are reliable and trustworthy of having the ability to do anything. I forgot to mention that you should let the server generate a normal world and not a superflat or amplified world (it is normal by default) this is because they will want to have an environment that they can use for their work and not just a flat bit of land with no variation.
Appropriate Plugins
Which plugins should you get for your Spigot server? Well here is our top list of plugins that you should get. If you are making a vanilla server skip this area. (Bukkit Plugins work also for Spigot)
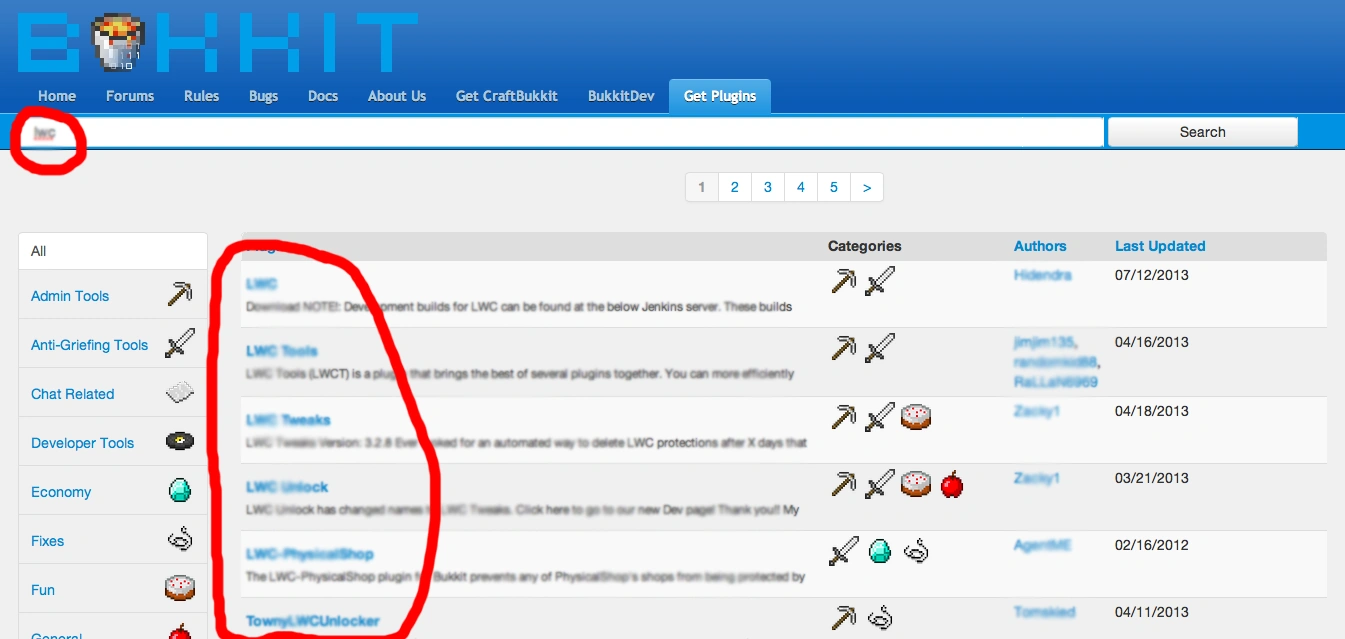
What it looks like when you search the Bukkit Plugins page for plugins. The "search term" and "plugin list" are marked in red.
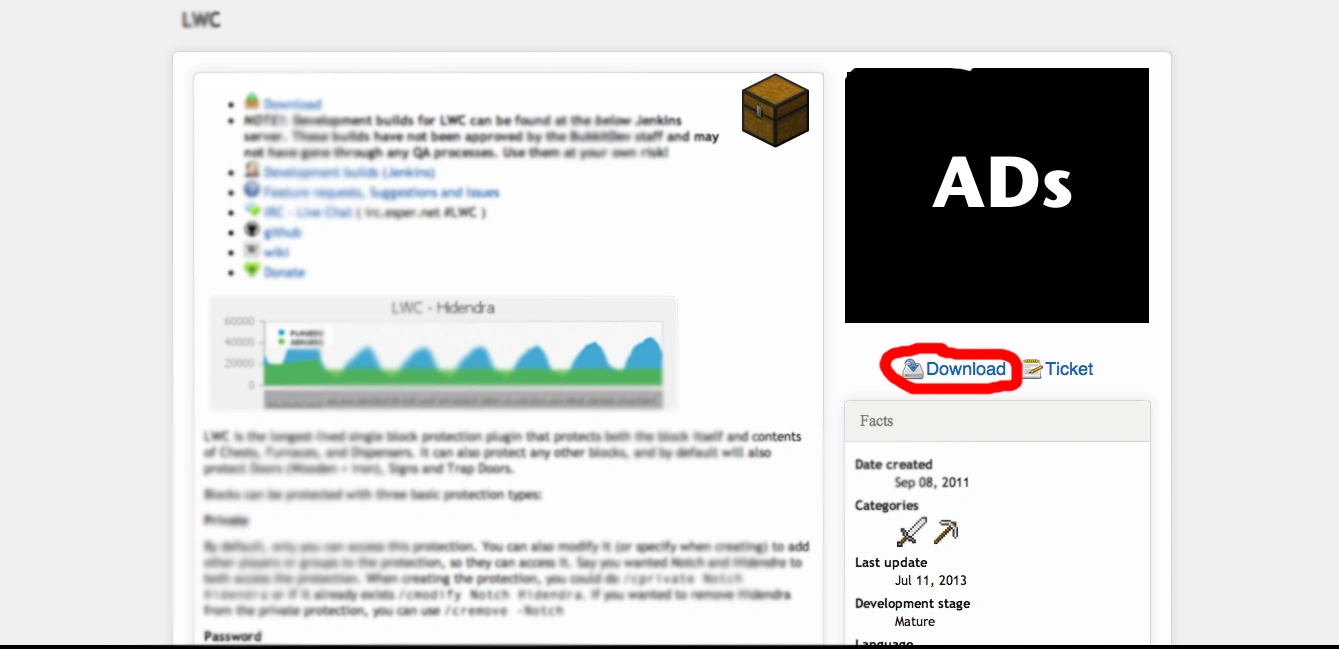
The screen for downloading a Plugin on Bukkit. Download button is marked in red.
You can download your the plugins from: http://plugins.bukkit.org or http://spigotmc.org/resources . Just search the name of the plugin and you should easily be able to find it. To use a plugin, download the .jar file for it and then put the .jar file in the "Plugins" folder. For a plugin to work you will need to restart your server.
List of Recommended Plugins (outdated plugins have links):
- "LWC" - Lock with Commands is a very useful plugin, it enables players to lock chests so that others can't access them. It is good to have because then players can keep important items in a chest and not have to worry about someone taking or losing them.
- "World Edit" - World Edit is a great plugin to have. It enables players to edit terrain on a large scale and to save and load schematic files. Schematics are sort of like saving a section of terrain so you can easily copy or move it without having to rebuild.
- "MultiVerse Core" - Multiverse Core and it's expansions are very useful for creating multiple worlds easily and without trouble.
- "CreativeGates" - Creative Gates is a a plugin for easy teleportation using portals created by MassiveCraft. It is pretty easy, and it is supported. Link: http://dev.bukkit.org/bukkit-plugins/creativegates/ .
- "Elevators" - As the name says, this plugin adds realistic elevators to the game. It is supported by inventivetalent Link: https://www.spigotmc.org/resources/elevators.12083/ .
Although plugins like Essentials have a lot of commands that can be useful we do not recommend that you use it. This is because students often muck around with the commands and troll the others. Although, if you feel you can trust your students, get Essentials as it has many useful aspects like kits.
Conclusion
Ok, your server is now set up. Now it's time to start teaching your students and having them start on projects.
Classes: Set-Up
You will probably want to print out minecraft item ids, crafting recipes and redstone circuitry documents from Minecraft Wiki. These will make for a quick and very easy reference for students. If you are teaching electronics and binary you may also like to print out the Ascii Table from: http://www.asciitable.com .
Classes: Electronics
Teaching Electronics
Firstly we will discuss what you should start off teaching your students. You'll obviously need an understanding of these concepts as well. Remember this is just a guide and you don't need to follow everything.
We recommend that you start off teaching your students Binary. This is because it will be very useful for teaching logic gates. Next we'll move on to Logic Gates; start off with AND gates, Inverters and OR gates. Once they can confidently use these you'll want to move on to XOR, NAND, NOR, Clocks, RS-NOR Latches and T-Flip-Flops.
Throughout teaching get your students to work on small projects, these could be anything from flashing lights or combination locks to booby traps. After your students have got the hang of it, give them more challenging projects. These projects could be real electronics like a added or subratcter.
For more projects and help with redstone see:
Classes: Architecture and 3D Design
Teaching Architecture and 3D Design
If you are teaching Architecture and/or 3D Design we recommend that you start with teaching students the most basic thing in both; Shape.
Shape is referring to the 3D (or 2D) shape of an object. You'll want to explain that if you were to build a basic house, the main shape would be a cube and the walls would be rectangles or squares. You may want to get students to start small/short projects; building a small house or a wall is a good start, to show they understand shape. Once students understand how to use shape in building things you'll want to move onto Concept.
Concept is referring to how a building is formed, looks and acts (does it protect an area, is it a stronghold, etc.). The floor plan of a building is also important to it's concept. You'll want students to design buildings/objects that are of different shapes, looks and floor plans. Once the students can understand this well move onto Decoration and Aesthetics.
Decoration and Aesthetics refer to the exterior and interior decorations. These include: furniture, lamps, torches, windows, shutters, roofs, lights, fences, etc. Get your students to use there project from the Shape section and add Aesthetics to it. Now we will move onto Variation.
Variation, although variation is good to use in minecraft builds to make them seem more realistic, it is very easy to overuse them and ruin an entire build. Variation refers to having small, noticeable differences between one area and the next. A good example of variation is a cobblestone path with spots of gravel in it, or a wooden wall with half-bricks and stairs used to make the wall appear battered and/or old. Variation is easy to add and makes things seem a lot more real.
That is it for basic skills. Now we will move onto bigger projects.
Architecture and 3D Design Projects
Student's projects can be completely of their own or the teacher's choice. A great way to start on projects is to prompt your students with a Concept. For example you could get them to build Bridges or Libraries. Remember that you can be very specific about the buildings, being specific will mainly change the Aesthetics that are used for the project. An example of specific projects are: Mayor's House (would have high class decorations and would probably be white [citation needed]) or an Abandoned Shack (would have holes in walls, wrecked furniture, weeds, ect.).
MORE COMING SOON